Renovating our 1997 Fleetwood Mallard for Full-Time Living (Part 9)
This is the story of how my husband and I purchased a 20-year-old travel trailer and I DIYed the crap out of it to make it suitable for full-time living. In this series, I’m giving All of the details about the process step-by-step, as performed by me, a 26-year-old woman with No experience in construction. The first installment in this series is in the link below and describes how I purchased the travel trailer and my plans for renovation. Then, follow along in the series by clicking on the link for the next article at the bottom of each page.
Steps of Waterproofing
The next part of the rebuild has been the most frustrating (so far). With the siding back on and attached to the roof, I’m finally ready to continue the waterproofing process that I started weeks ago (and had to abandon to redo the frame at the front). Waterproofing is a Big job. The trailer has Many points of weakness when it comes to water infiltration, and even one weak spot could lead to expensive and complicated problems in the future.
The areas that I’m going to address immediately are the front corners where the new siding has been reattached, the front window that I had to remove, and the vents on the roof that I removed and will replace. After that, I’ll reseal the roof, replace all of the vinyl trim in the corner moldings, and run a line of caulk down every seam on the entire outside of the trailer. It’s not a small amount of work, but I want everything sealed up tight before I start working on the inside.
1. Roof and Siding Seam
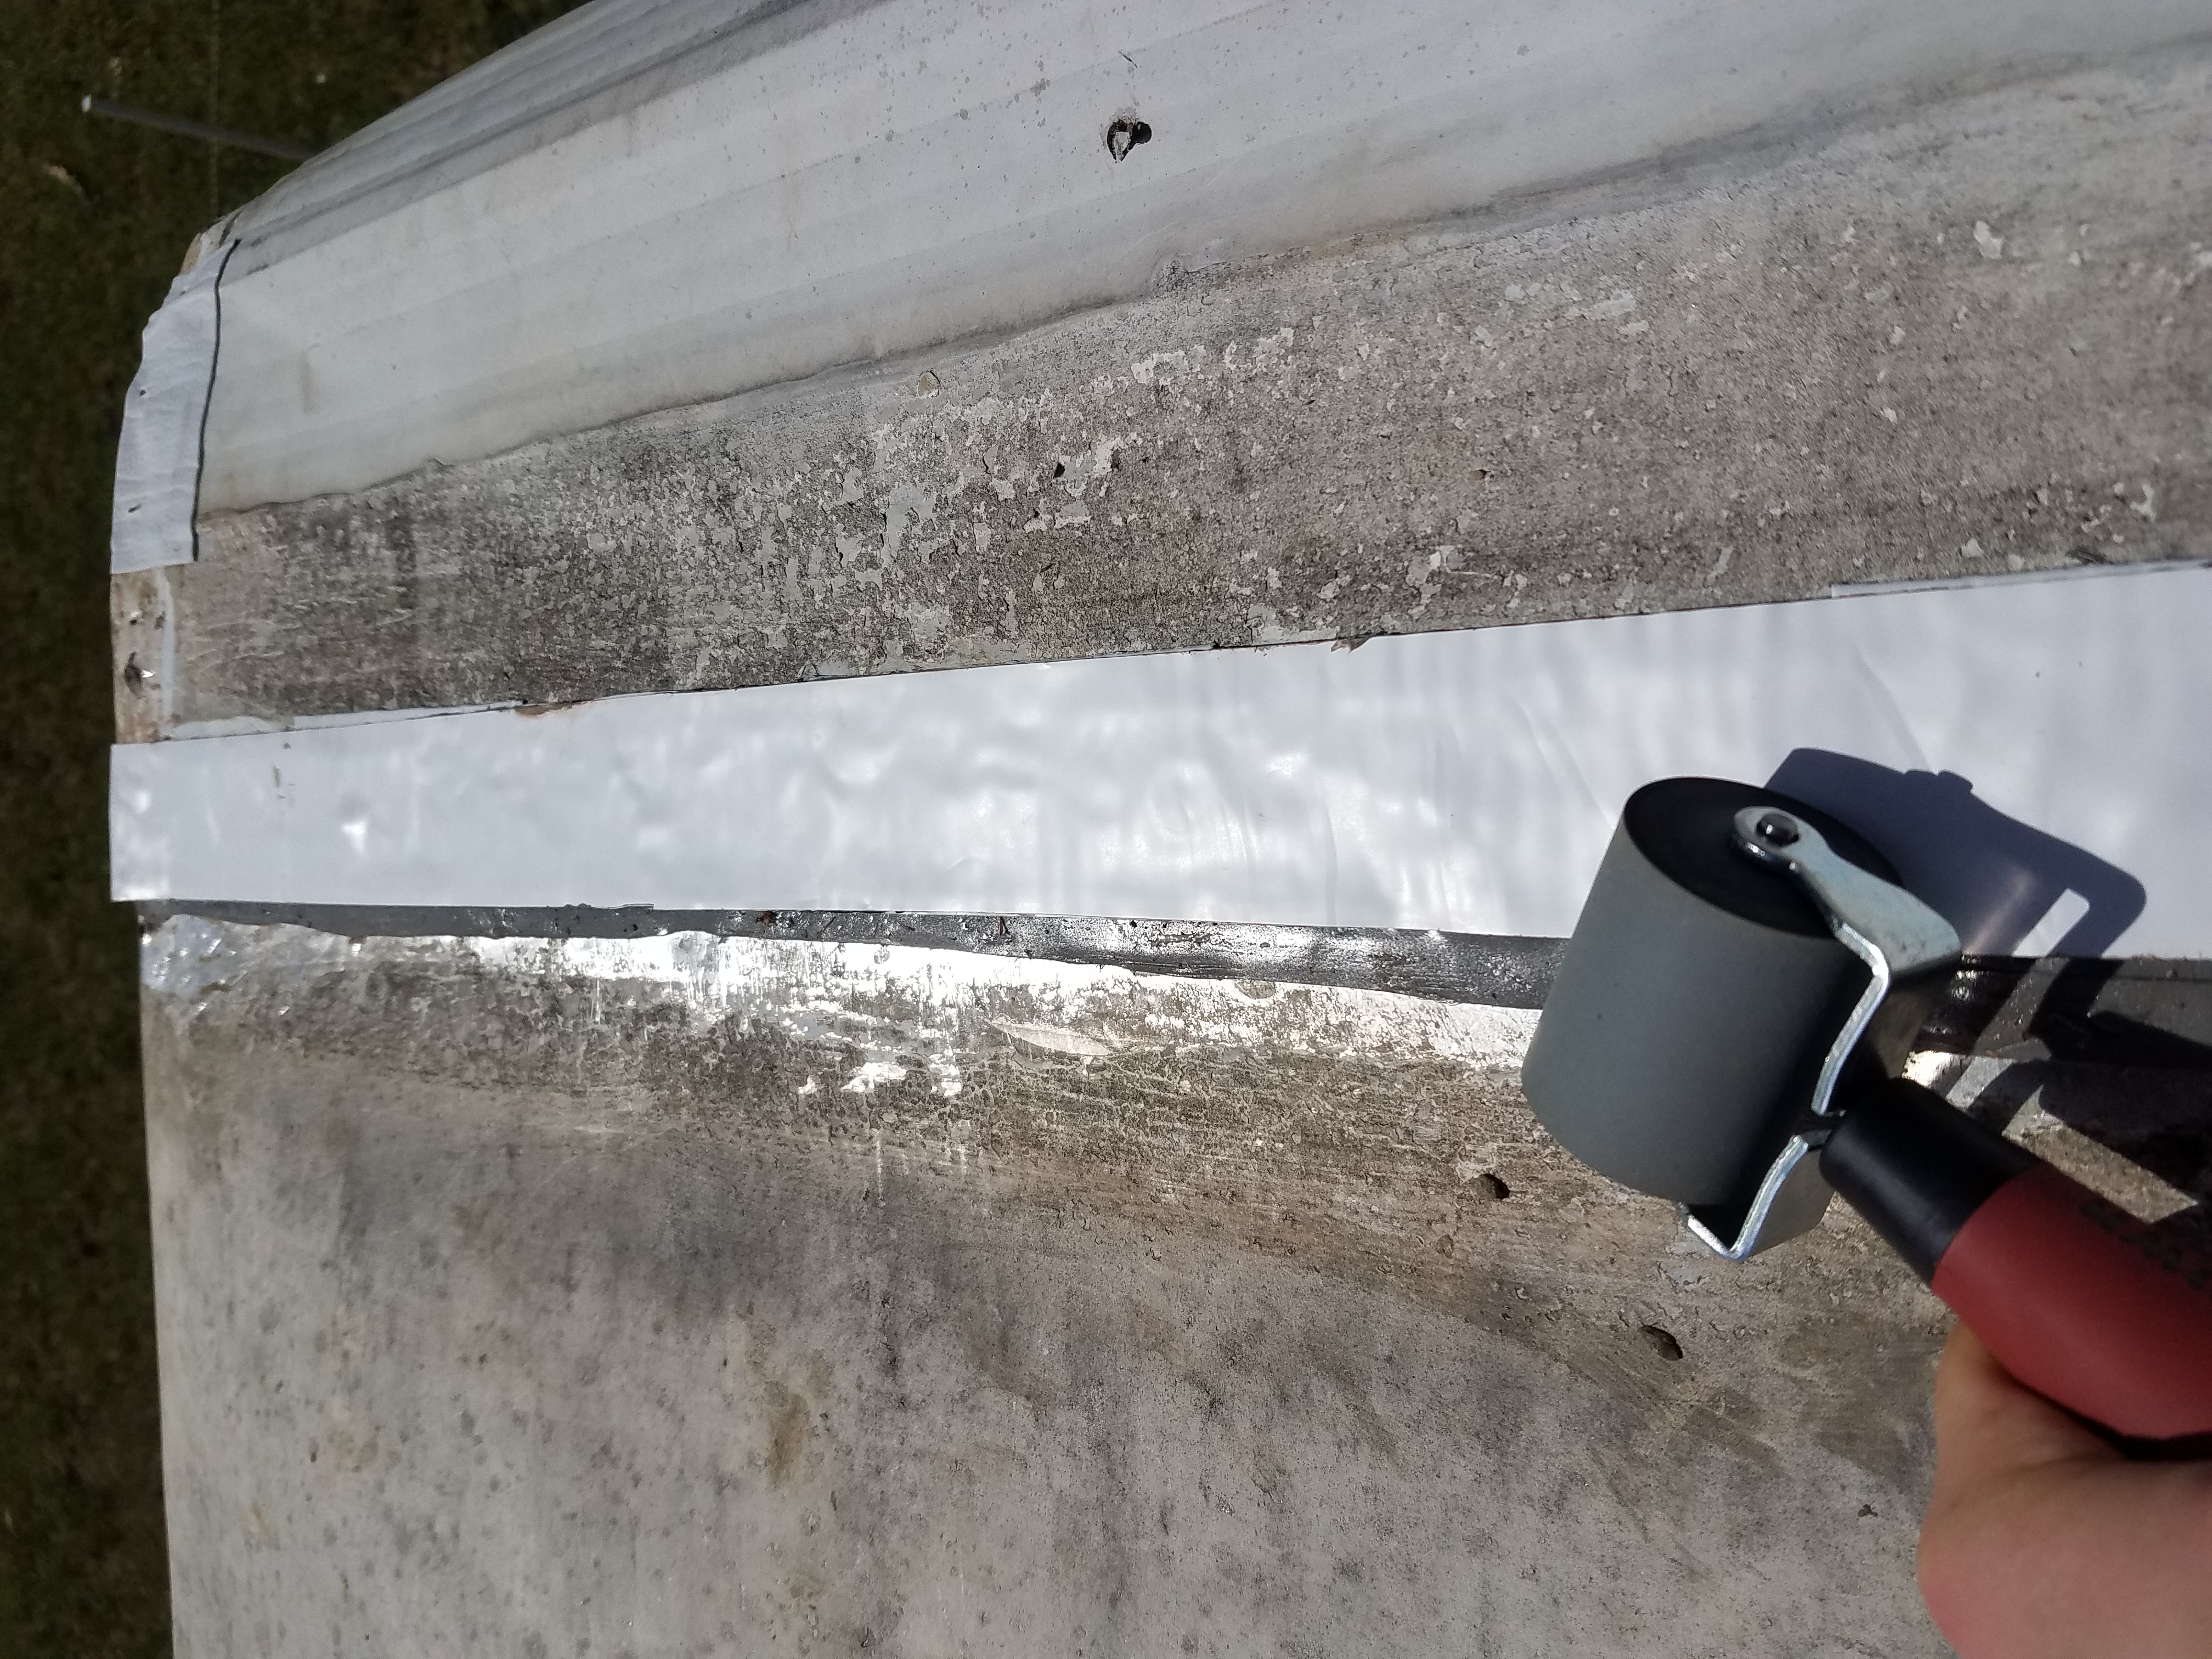
For my first task, I wanted to seal up the big seam where the siding meets the roof. The butyl tape underneath was squeezed out when I screwed it in, and that should prevent water from seeping through the screw holes. Unbeknownst to me at the time, you’re supposed to trim away the butyl tape that gets squeezed out before applying sealing tape or caulk. I recommend you do this, I, in my ignorance, did not.
First, I applied my roof sealant tape over the screws to protect them from rusting and to add another layer of protection against water infiltration. I used a rubber roller to press the tape down firmly, looking to see the black adhesive squeezing out the sides of the tape a little bit.
Next, I scraped the roof surface as clean as I could and checked that it was all dry. Then, I added another layer of sealant tape overlapping the first layer, covering the butyl tape that squeezed out (you should cut the extra off) and pressing firmly to the roof surface. This layer would prevent water from seeping between the roof and the aluminum siding. I pressed it all down firmly with the roller. I recommend that you give your aluminum a thorough wash with some TSP or other heavy-duty cleaners before applying sealant tape or caulk. Although a little bit of dirt won’t ruin the whole thing, the cleaner the surface, the surer your sealant is.

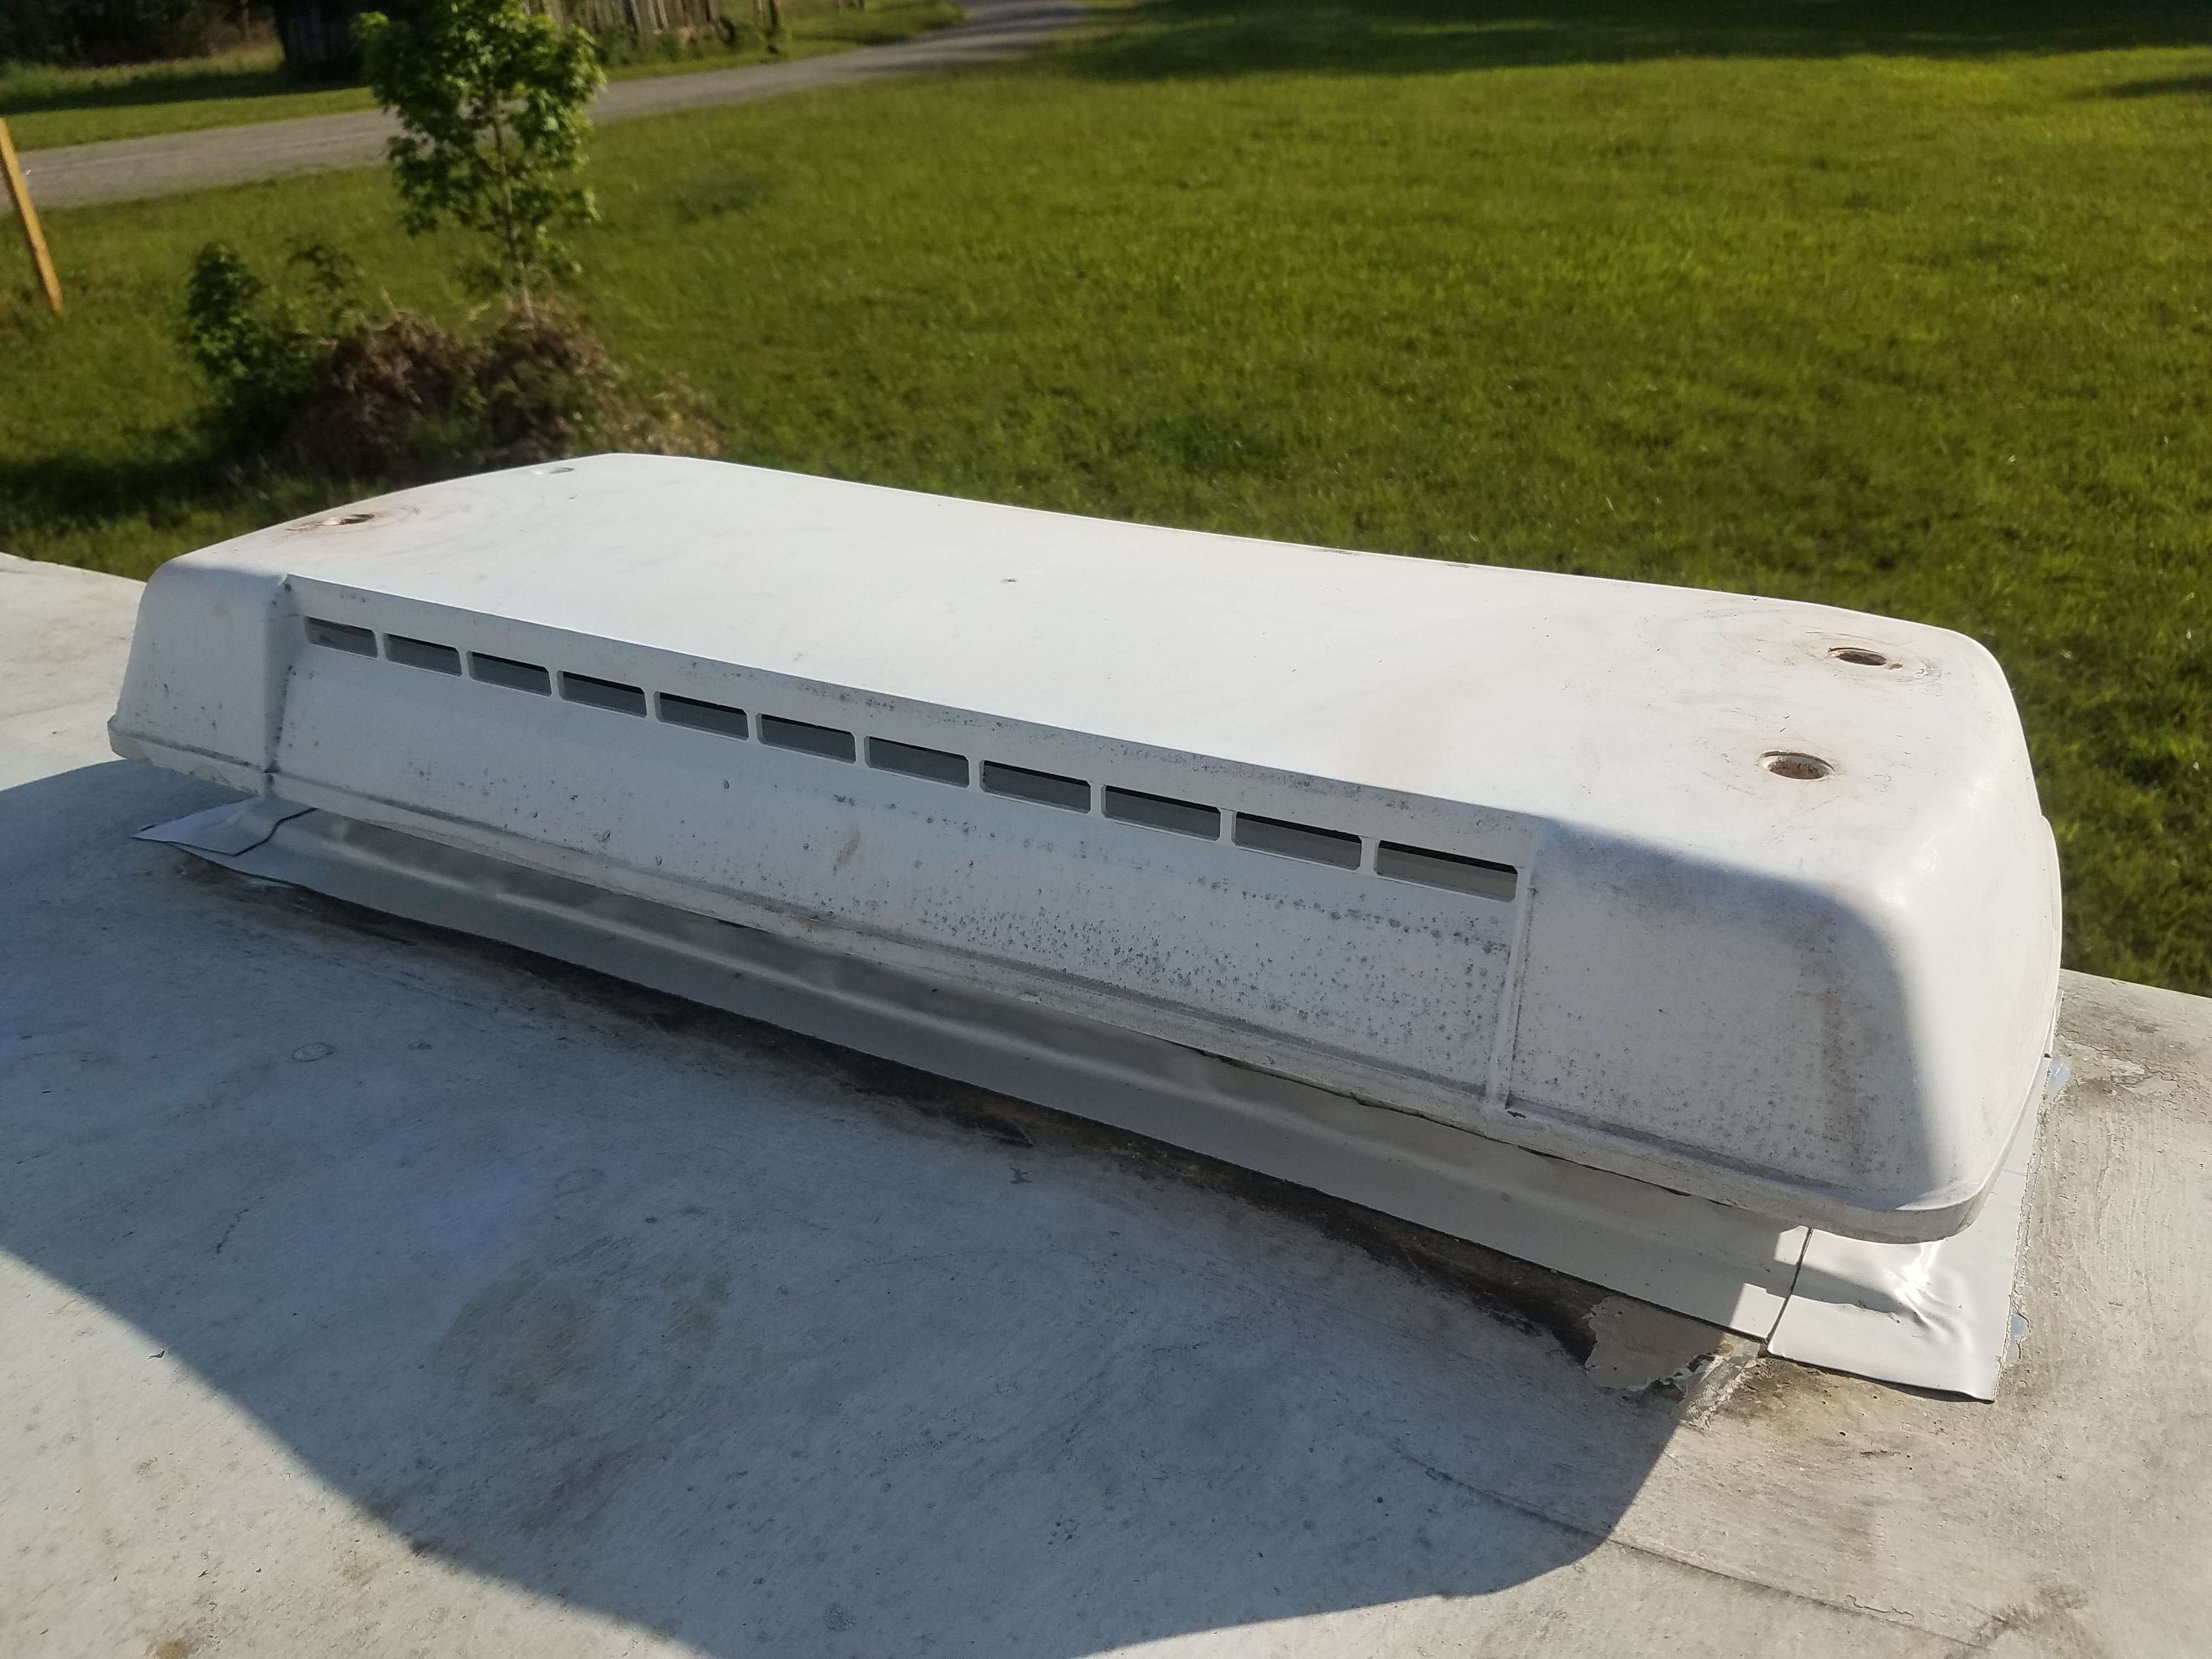
2. Air Vents
With the biggest potential leak taken care of (for now), I moved on to installing the new ceiling vents I’d purchased to replace the old vent. I bought the Fan-Tastic Vents that came very highly recommended on RV and trailer blogs. They have a huge fan which, I’ve heard, is super nice for cooling down your RV.
Vent installation is simple. I’d already scraped the caulk away, unscrewed the bolts, and removed the old vents. I had covered the holes in thick black plastic and duct tape to keep out the rain. So, I simply removed the black plastic, scraped a little more of the old caulk and sealant away, and laid down a fresh line of butyl tape. The butyl tape should cover the screw holes to prevent leaks.
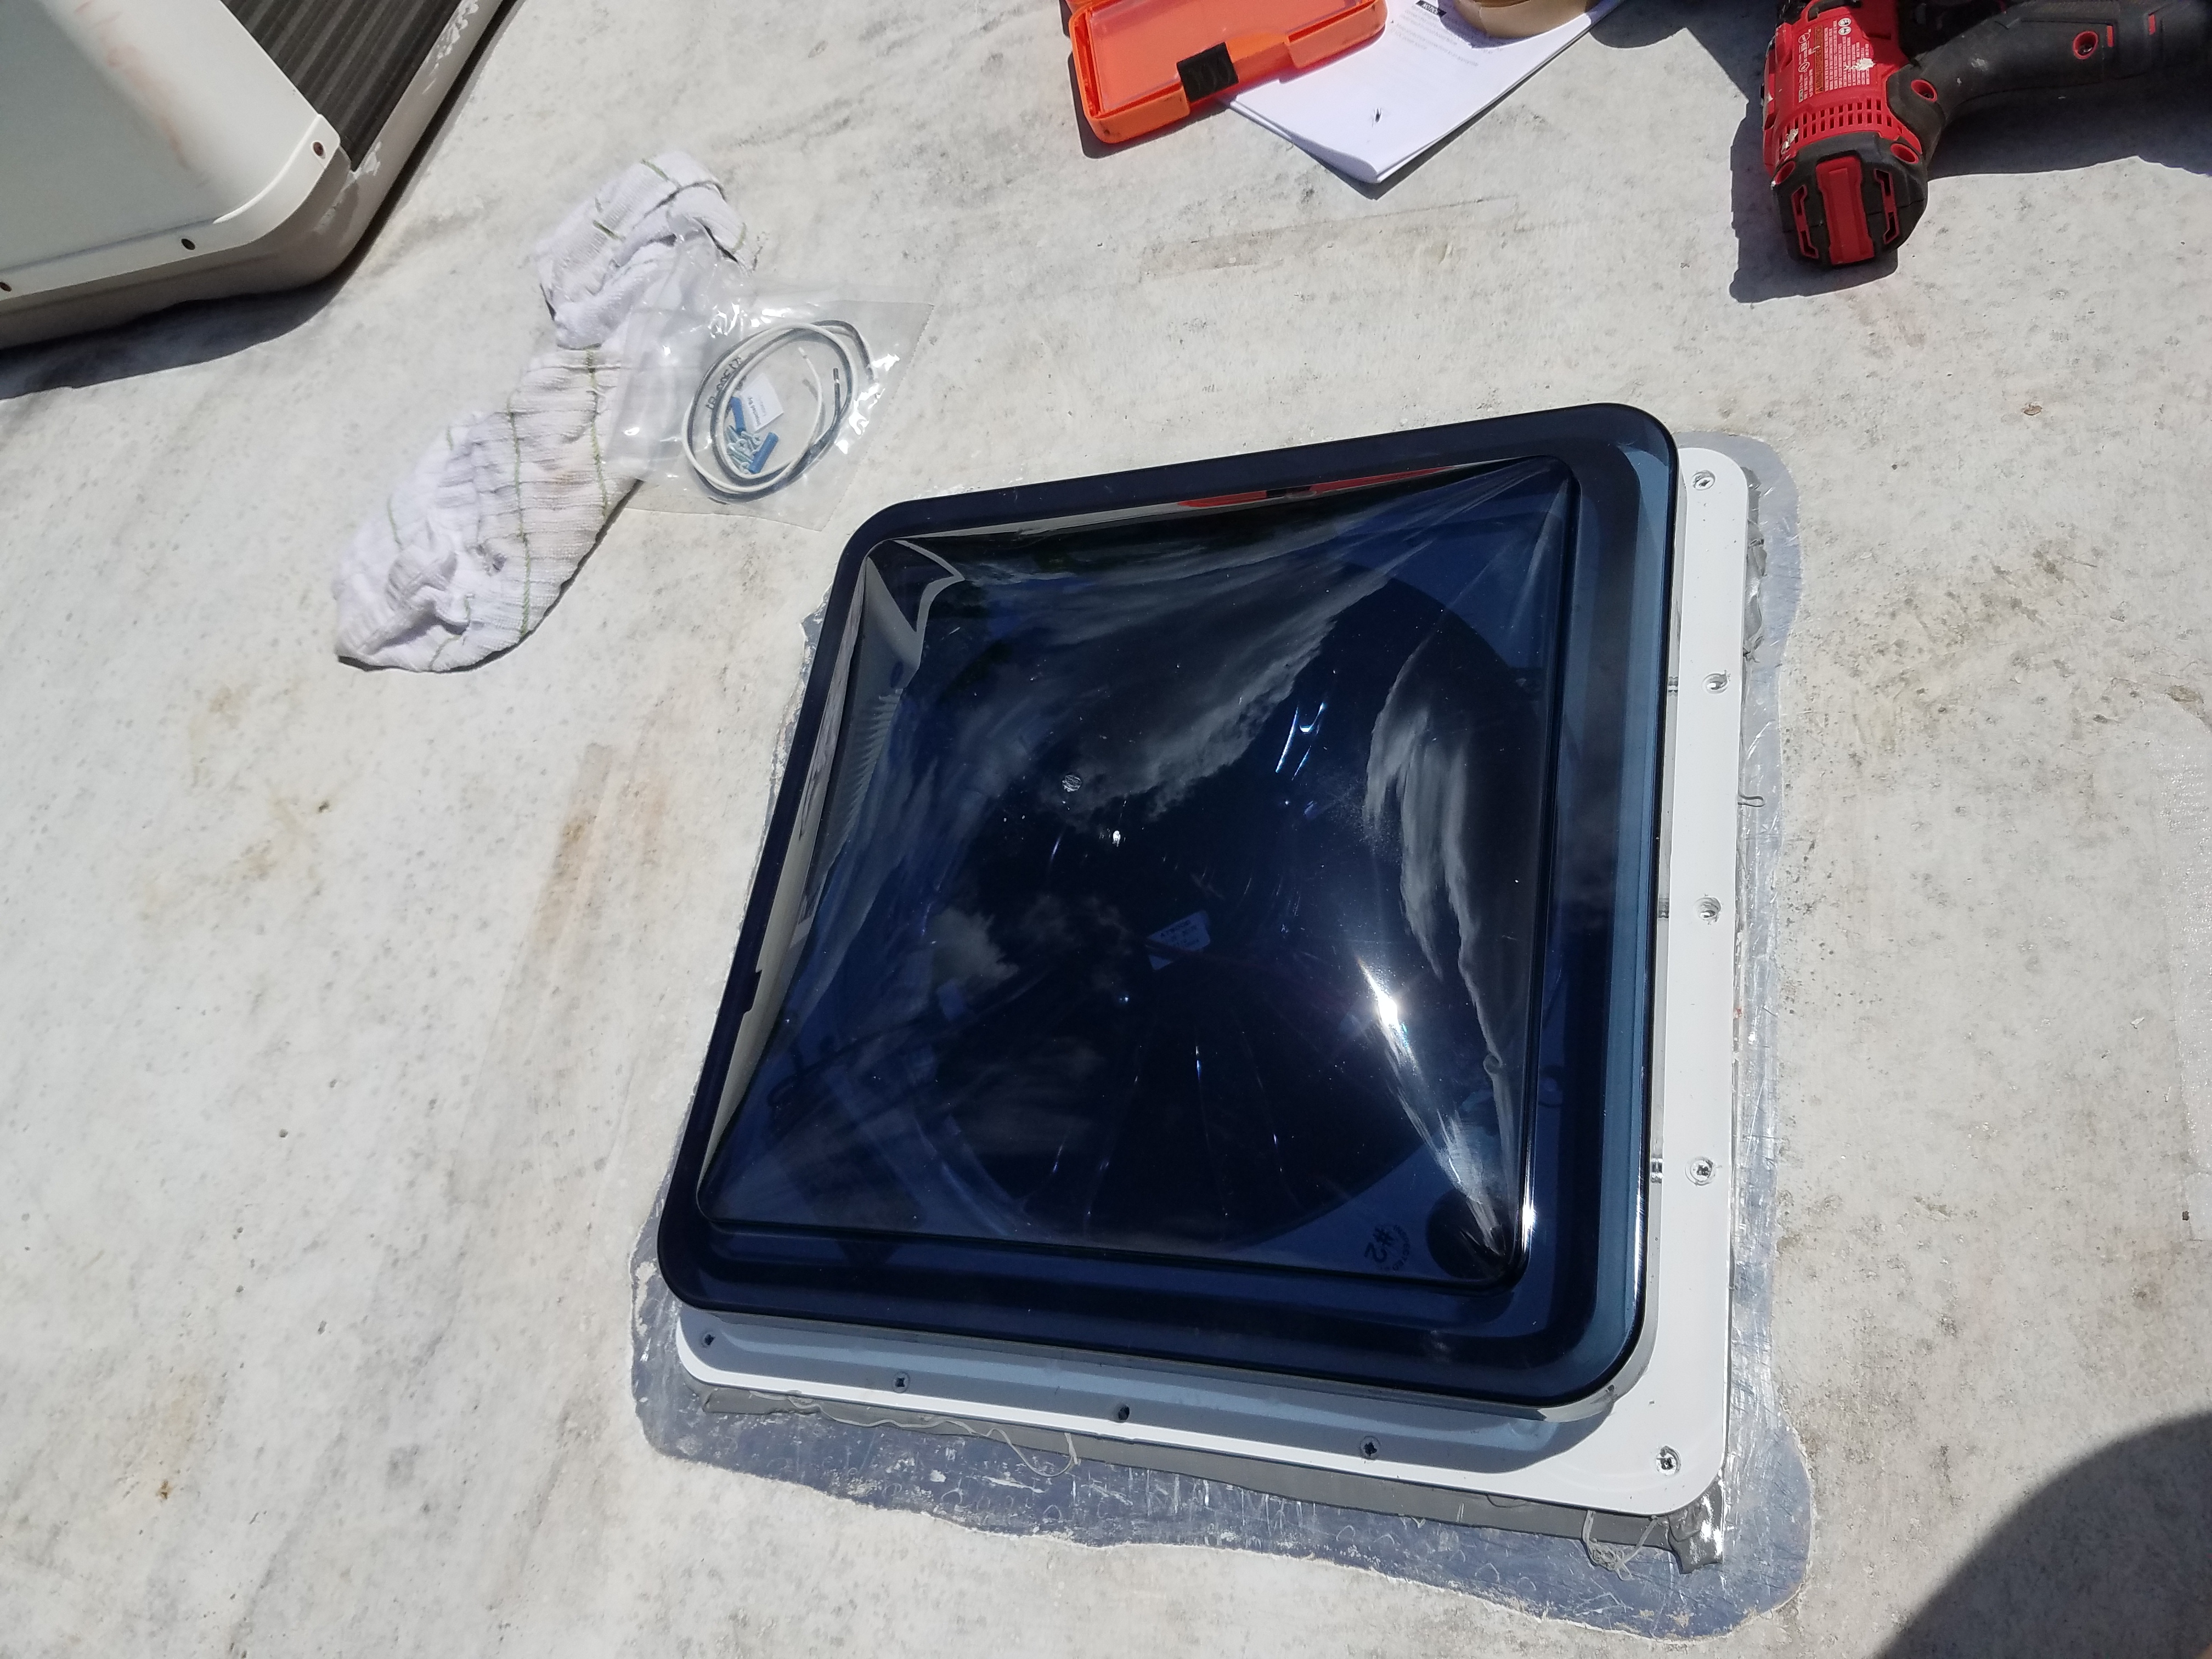
When you are installing your vents make sure to align them so that the hinges on the vent covers face towards the front of the trailer and the actual opening faces towards the rear. The vent should open towards the rear of the trailer. That will help prevent wind from ripping the vent covers off while you’re towing the trailer. After applying the butyl tape I simply dropped the new vent into the hole and screwed it in. Then I applied the roof sealant tape over the screws and the edges of the new vent, sealing the edges to prevent water infiltration.
Then, I repeated the process with my second new vent. I have to say, it’s very nice to have the two big holes in my trailer’s roof properly sealed. These are also the first new things (not counting lumber) that I have put on the Wind Rose since I started this! Yay for rebuilding!
3. Sewer Vents
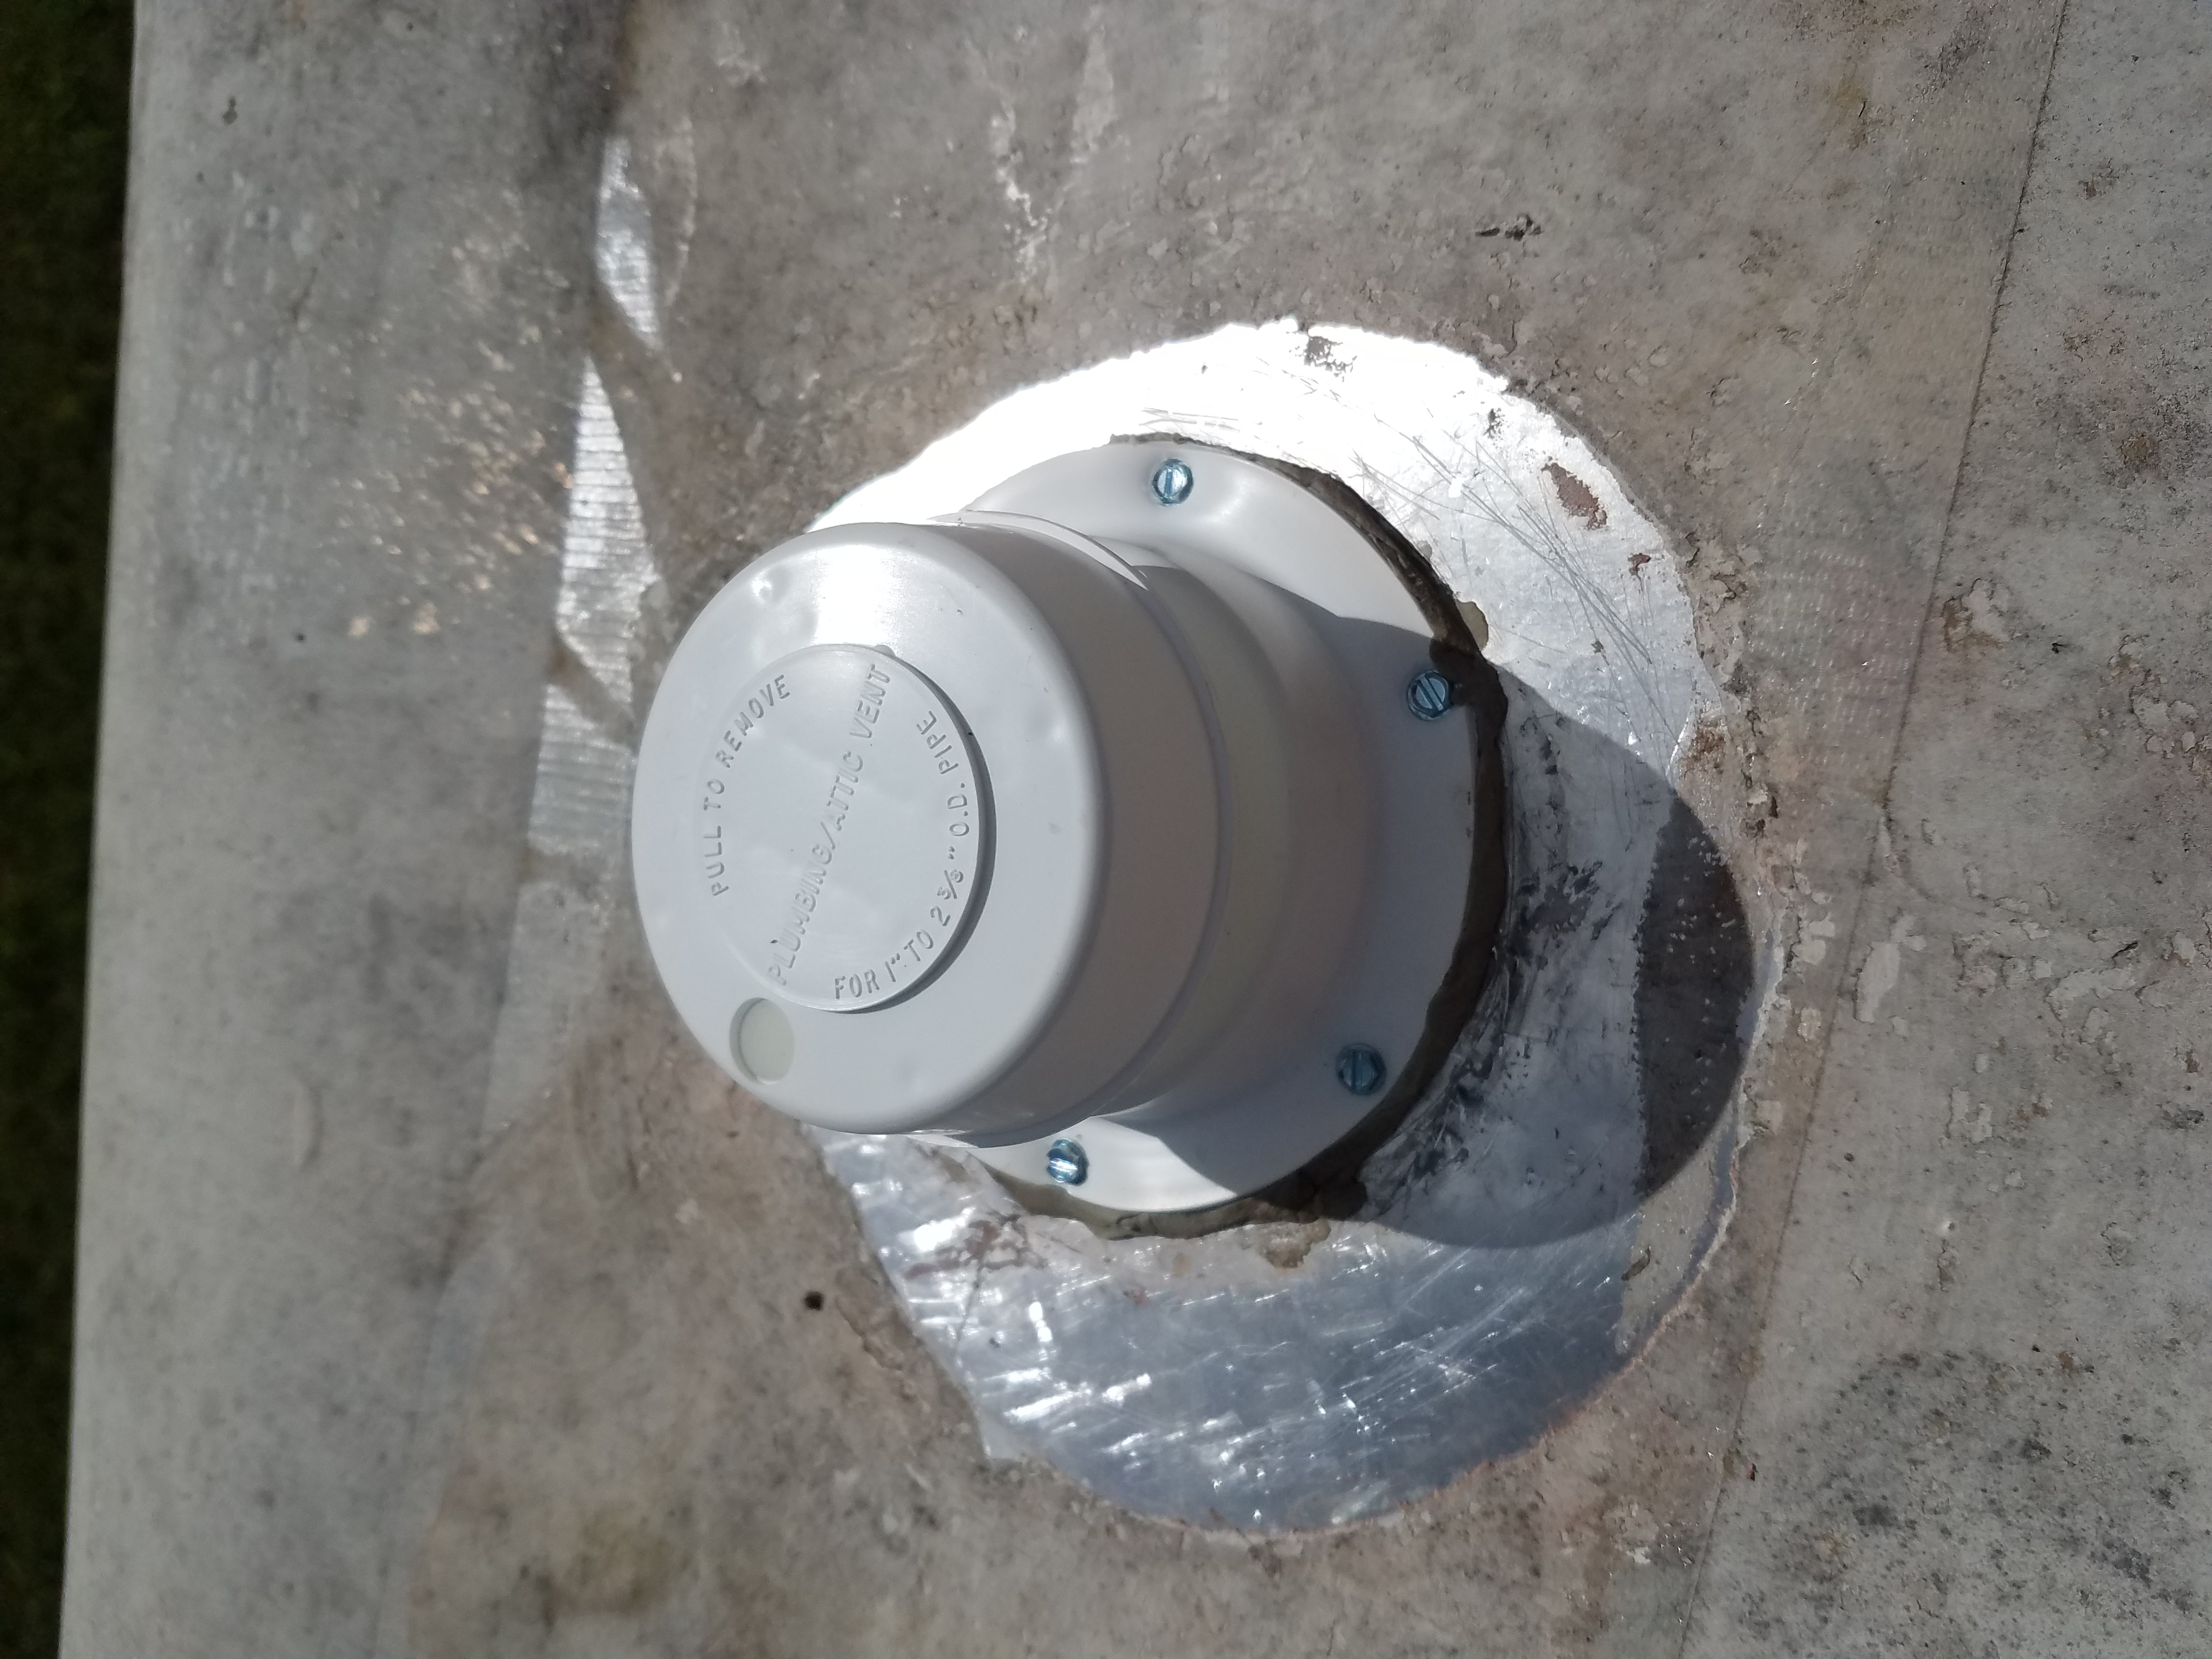
Next, I performed a very similar job on the two sewer vent covers that I bought to replace the brittle and broken old vent covers. That was even faster since there were fewer screws to deal with. The new vents looked very nice and covered up the black pipe sticking out of the roof quite nicely.
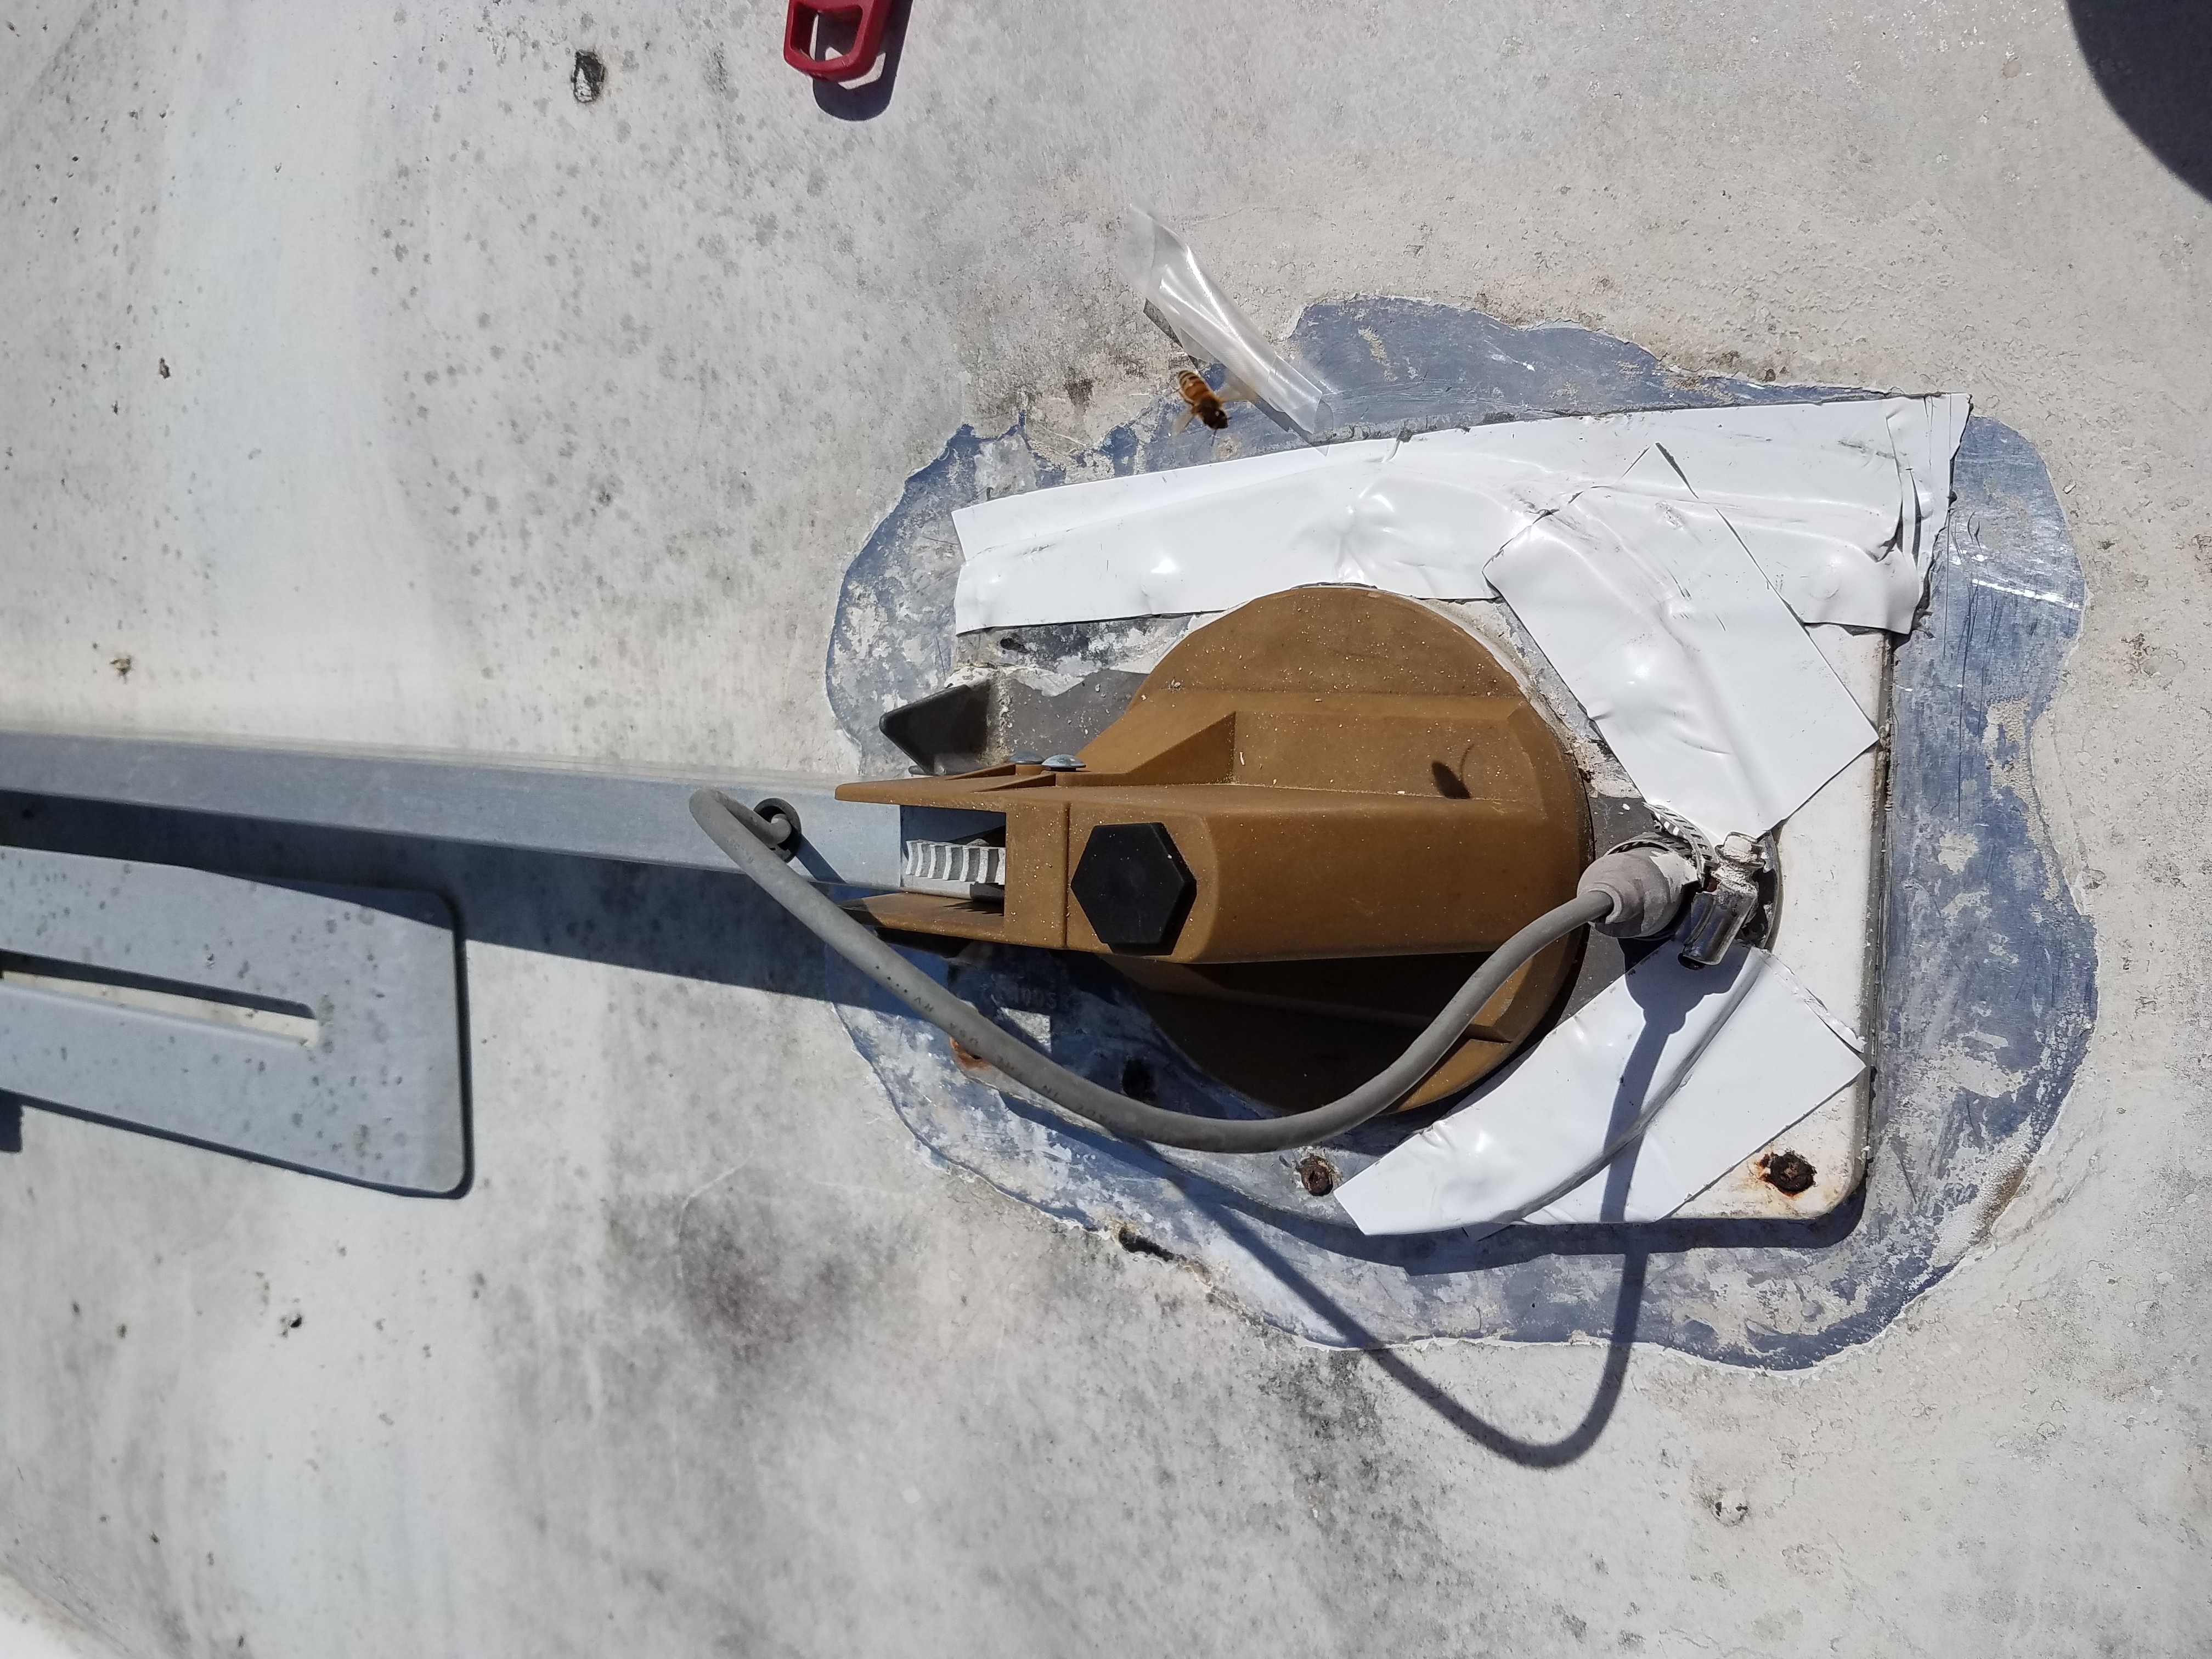
4. Sealing the Rest
With all four new vents in, I moved on to properly resealing the other things sticking out of the roof. This roof has so many holes in it, it’s no wonder most of them leak. The satellite antenna got a nice layer of sealant tape around its edges.
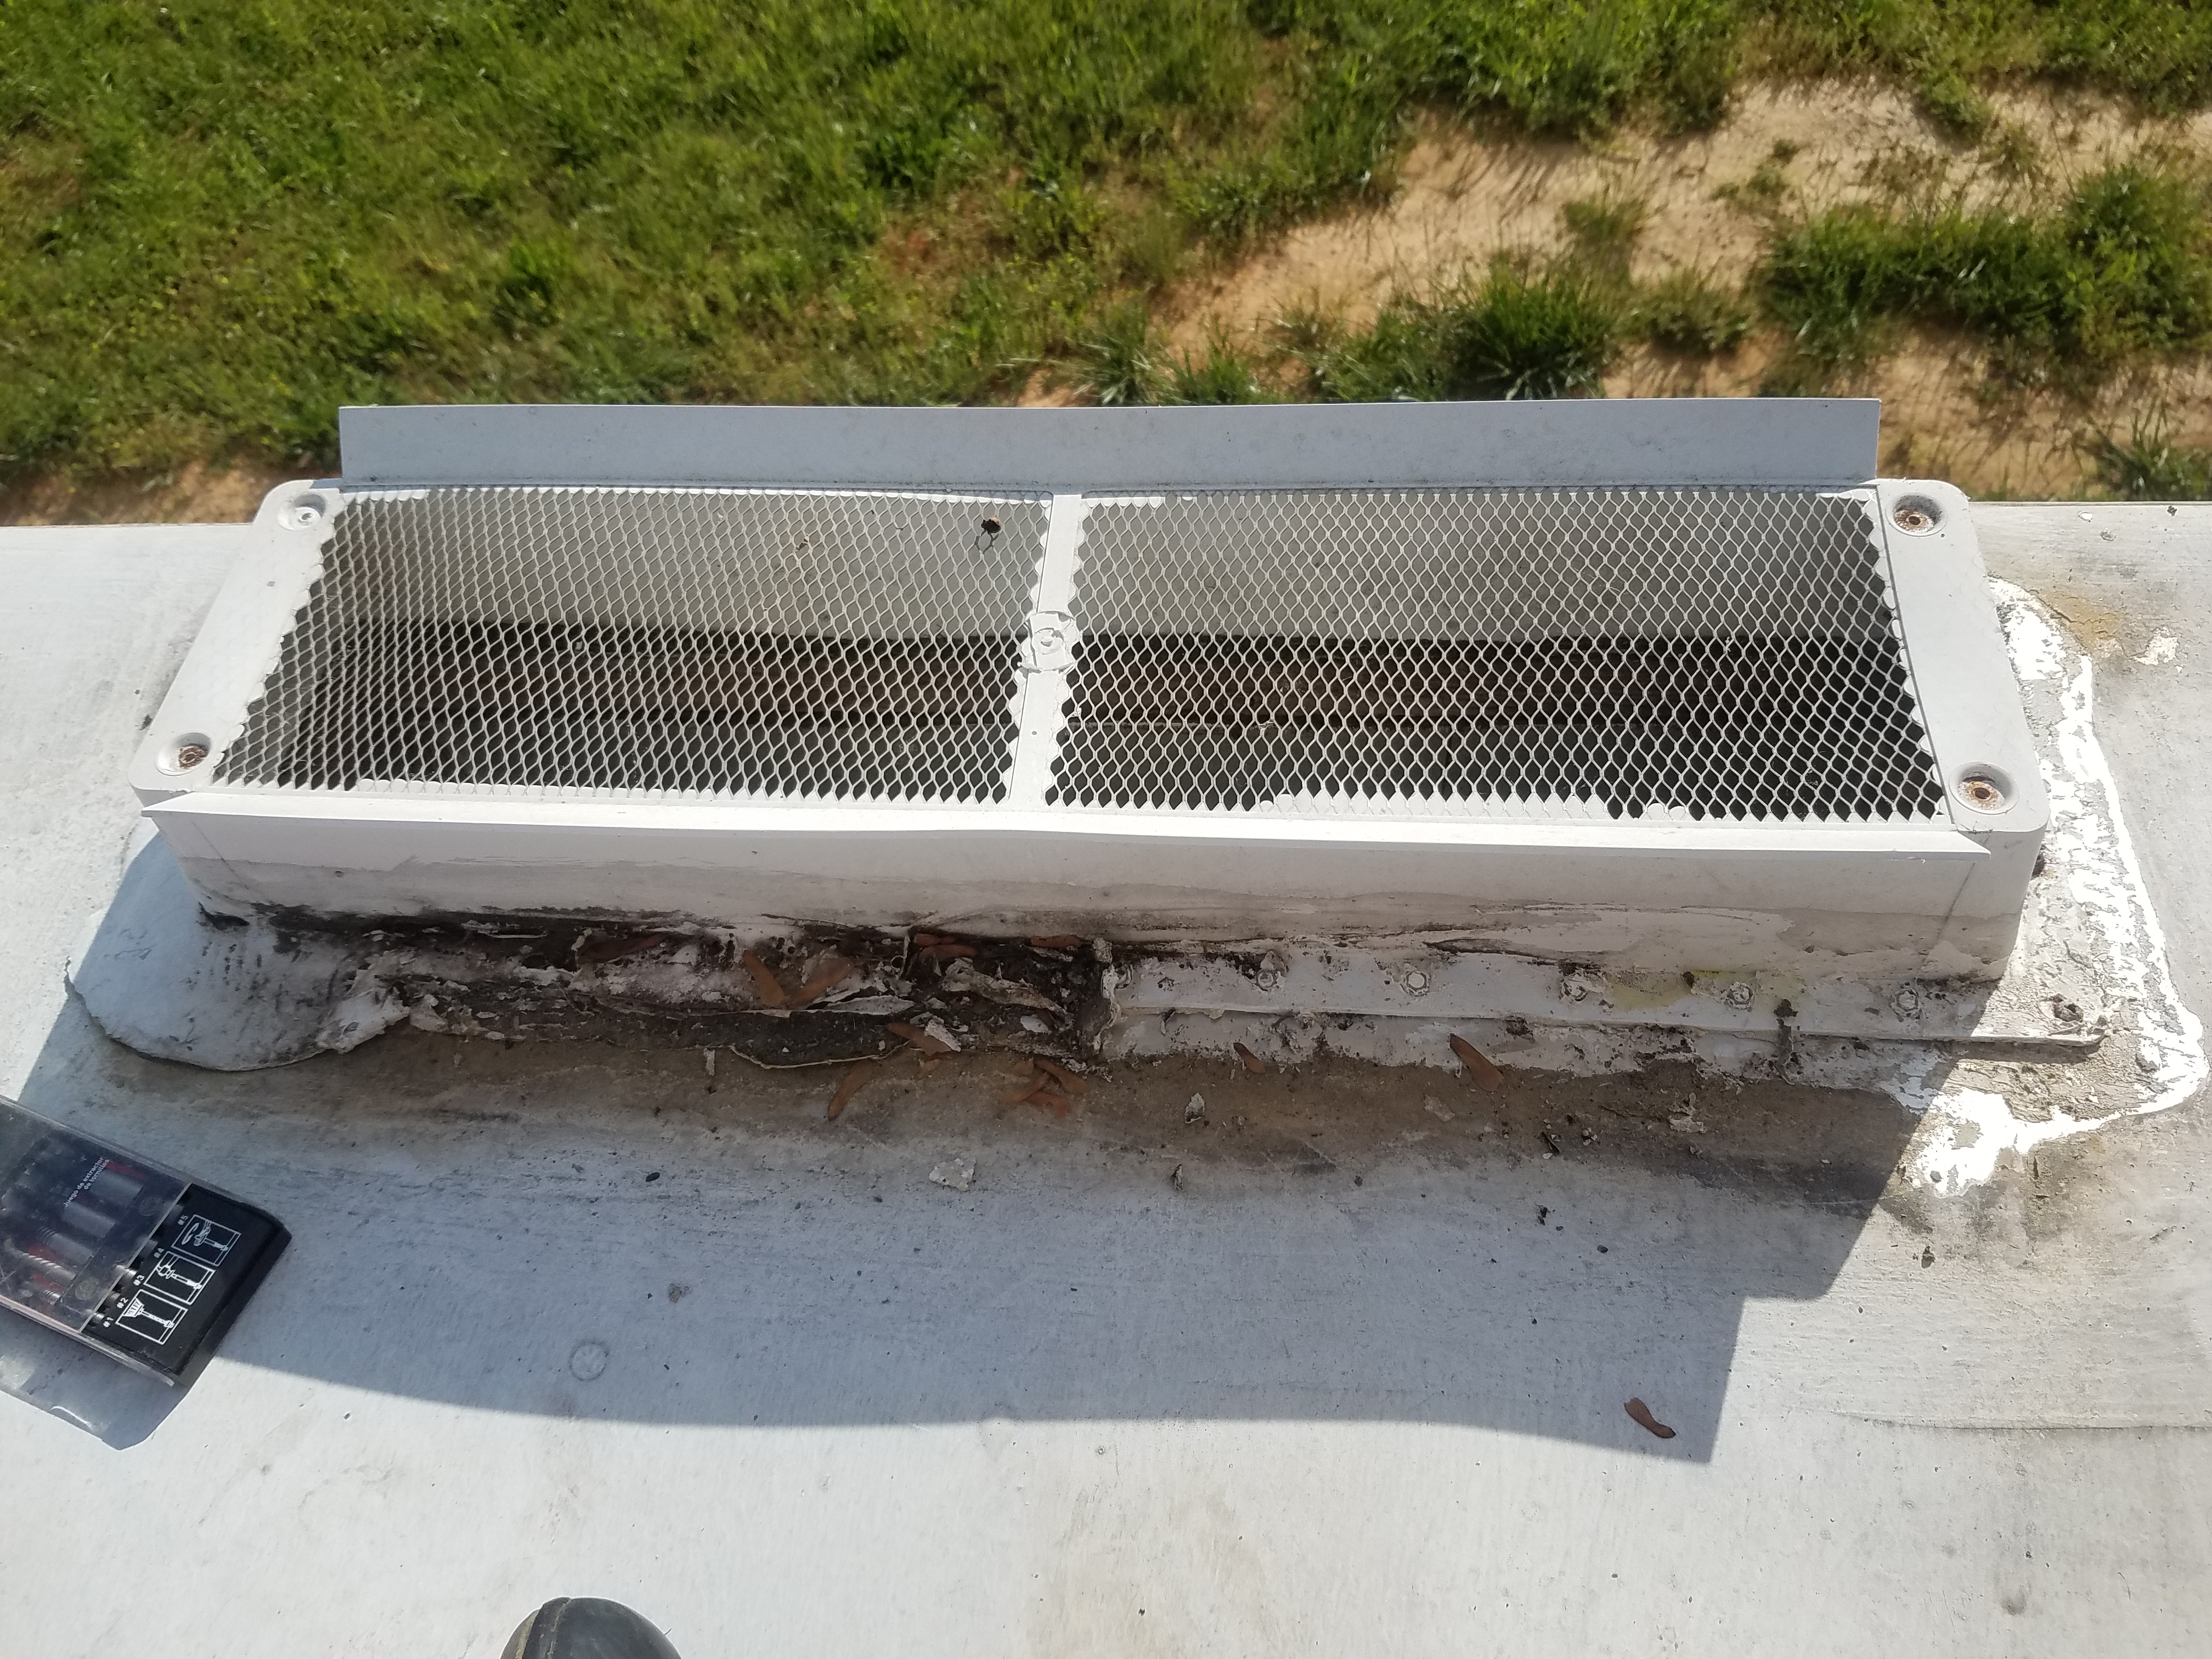
The refrigerator vent gave me some trouble because I had to remove part of it to get at the caulk. The screws were rusted and I had a Fantastic time with the “Easy Out” (it’s Definitely Not easy) removing those rusted bits of metal. Then I scraped the edges clean of caulk and covered them in sealant tape as well. I still need to get new screws, reattach the vent cover, and then seal the holes so the new screws won’t rust out like the old ones. Finally, I covered the edges of the radio antenna with sealant tape.
More Leaks…
While I was up there on the roof, I made note of a few more things that needed to be done.
- The edges of the roof had aluminum corner molding that had vinyl trim protecting the screws, same as on the corners of the siding. That trim was grey with age and brittle so it would need to be replaced.
- The roof needed a good wash with something powerful before I could paint it with the Kool-Seal.
- Water was pooling at the front of the trailer where the siding overlapped. That would definitely encourage leaking. I wanted to find a way to prevent that if I could.
When I finally finished my Looong day of sealing, my hands were aching and my wrists were sore, but I felt pretty good about the holes in my roof now being properly sealed.
However, since then, I’ve had a few heavy showers of rain. The seam between the roof and the siding in the front is Leaking!! Ug! I can’t find the exact source of the leak, although I think it probably has to do with the radio antenna. I put down a few buckets to catch the drips and I’m going to have to go up there with some caulk and get serious.
There was also a small leak around the corner of the exterior access hatch. The hatch used to lead to a compartment under the dinette before I ripped the dinette out. It makes sense for there to be a leak there because I had to replace the plywood around the hatch due to water damaged. One more thing to caulk!
I also checked the leaks I’d noticed at the back corners of the trailer, but I didn’t see (or feel) any water. Hmmmm. Disappearing leaks? Unlikely. I’ll be resealing those back corners after I get the roof sealed just to be safe.
While I was checking for leaks, I also found out that one of my roof struts was broken! Did I do that by stepping on it too hard? Possibly. Probably. I have to be more careful while moving around on the roof. Other DIYers often put down large pieces of plywood to walk on, which spreads their weight out over several struts. I see the wisdom in that now. I probably shouldn’t have assumed that my slighter frame and lesser body mass would exclude me from having to do that. Now, I’ll have to sister in a supporting strut at the base of the broken strut to make sure a snowy winter (or more walking) won’t collapse my roof. Add it to the list…
However, before I do that, I need to put the window back in. I want to seal up that last big hole so I can stop using the tarp. Also, I need to do the siding corner molding, since water can get in the corners without it. Basically, water is getting in everywhere and I can only work on one thing at once. Luckily, since the interior of the trailer is stripped to the studs, the water that’s leaking in can’t do too much damage. Another bonus, I can see where all the water is coming in. I’m going to take the rain as a good thing since it’s showing me where my roof still needs work.
Yep. The rain it a good thing. The glass is half-full. I’m going to keep telling myself that.
Here’s the link for Episode 2 of Waterproofing – Return of the Water. It’s like Star Wars, only a lot more frustrating and tedious.