Renovating our 1997 Fleetwood Mallard for Full-Time Living (Part 8)
This is the story of how my husband and I purchased a 20-year-old travel trailer and I DIYed the crap out of it to make it suitable for full-time living. In this series, I’m giving All of the details about the process step-by-step, as performed by me, a 26-year-old woman with No experience in construction. The first installment in this series is in the link below and describes how I purchased the travel trailer and my plans for renovation. Then, follow along in the series by clicking on the link for the next article at the bottom of each page.
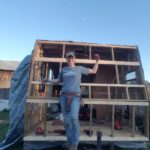
With the front all framed up after weeks of work, it was finally time to put the siding back on and make the Wind Rose waterproof again! I can’t tell you how exciting that is. Trying to keep everything dry with a tarp is a nightmare. I’m very tired of having to run out in a rainstorm and double-check the tie downs and then mop up the water that leaked in. Once I get the siding back on and the corners sealed up, I can replace all of the vents in the roof and get that sealed up as well. I can’t wait to have a fully sealed, weather-proof trailer again.
Wiring
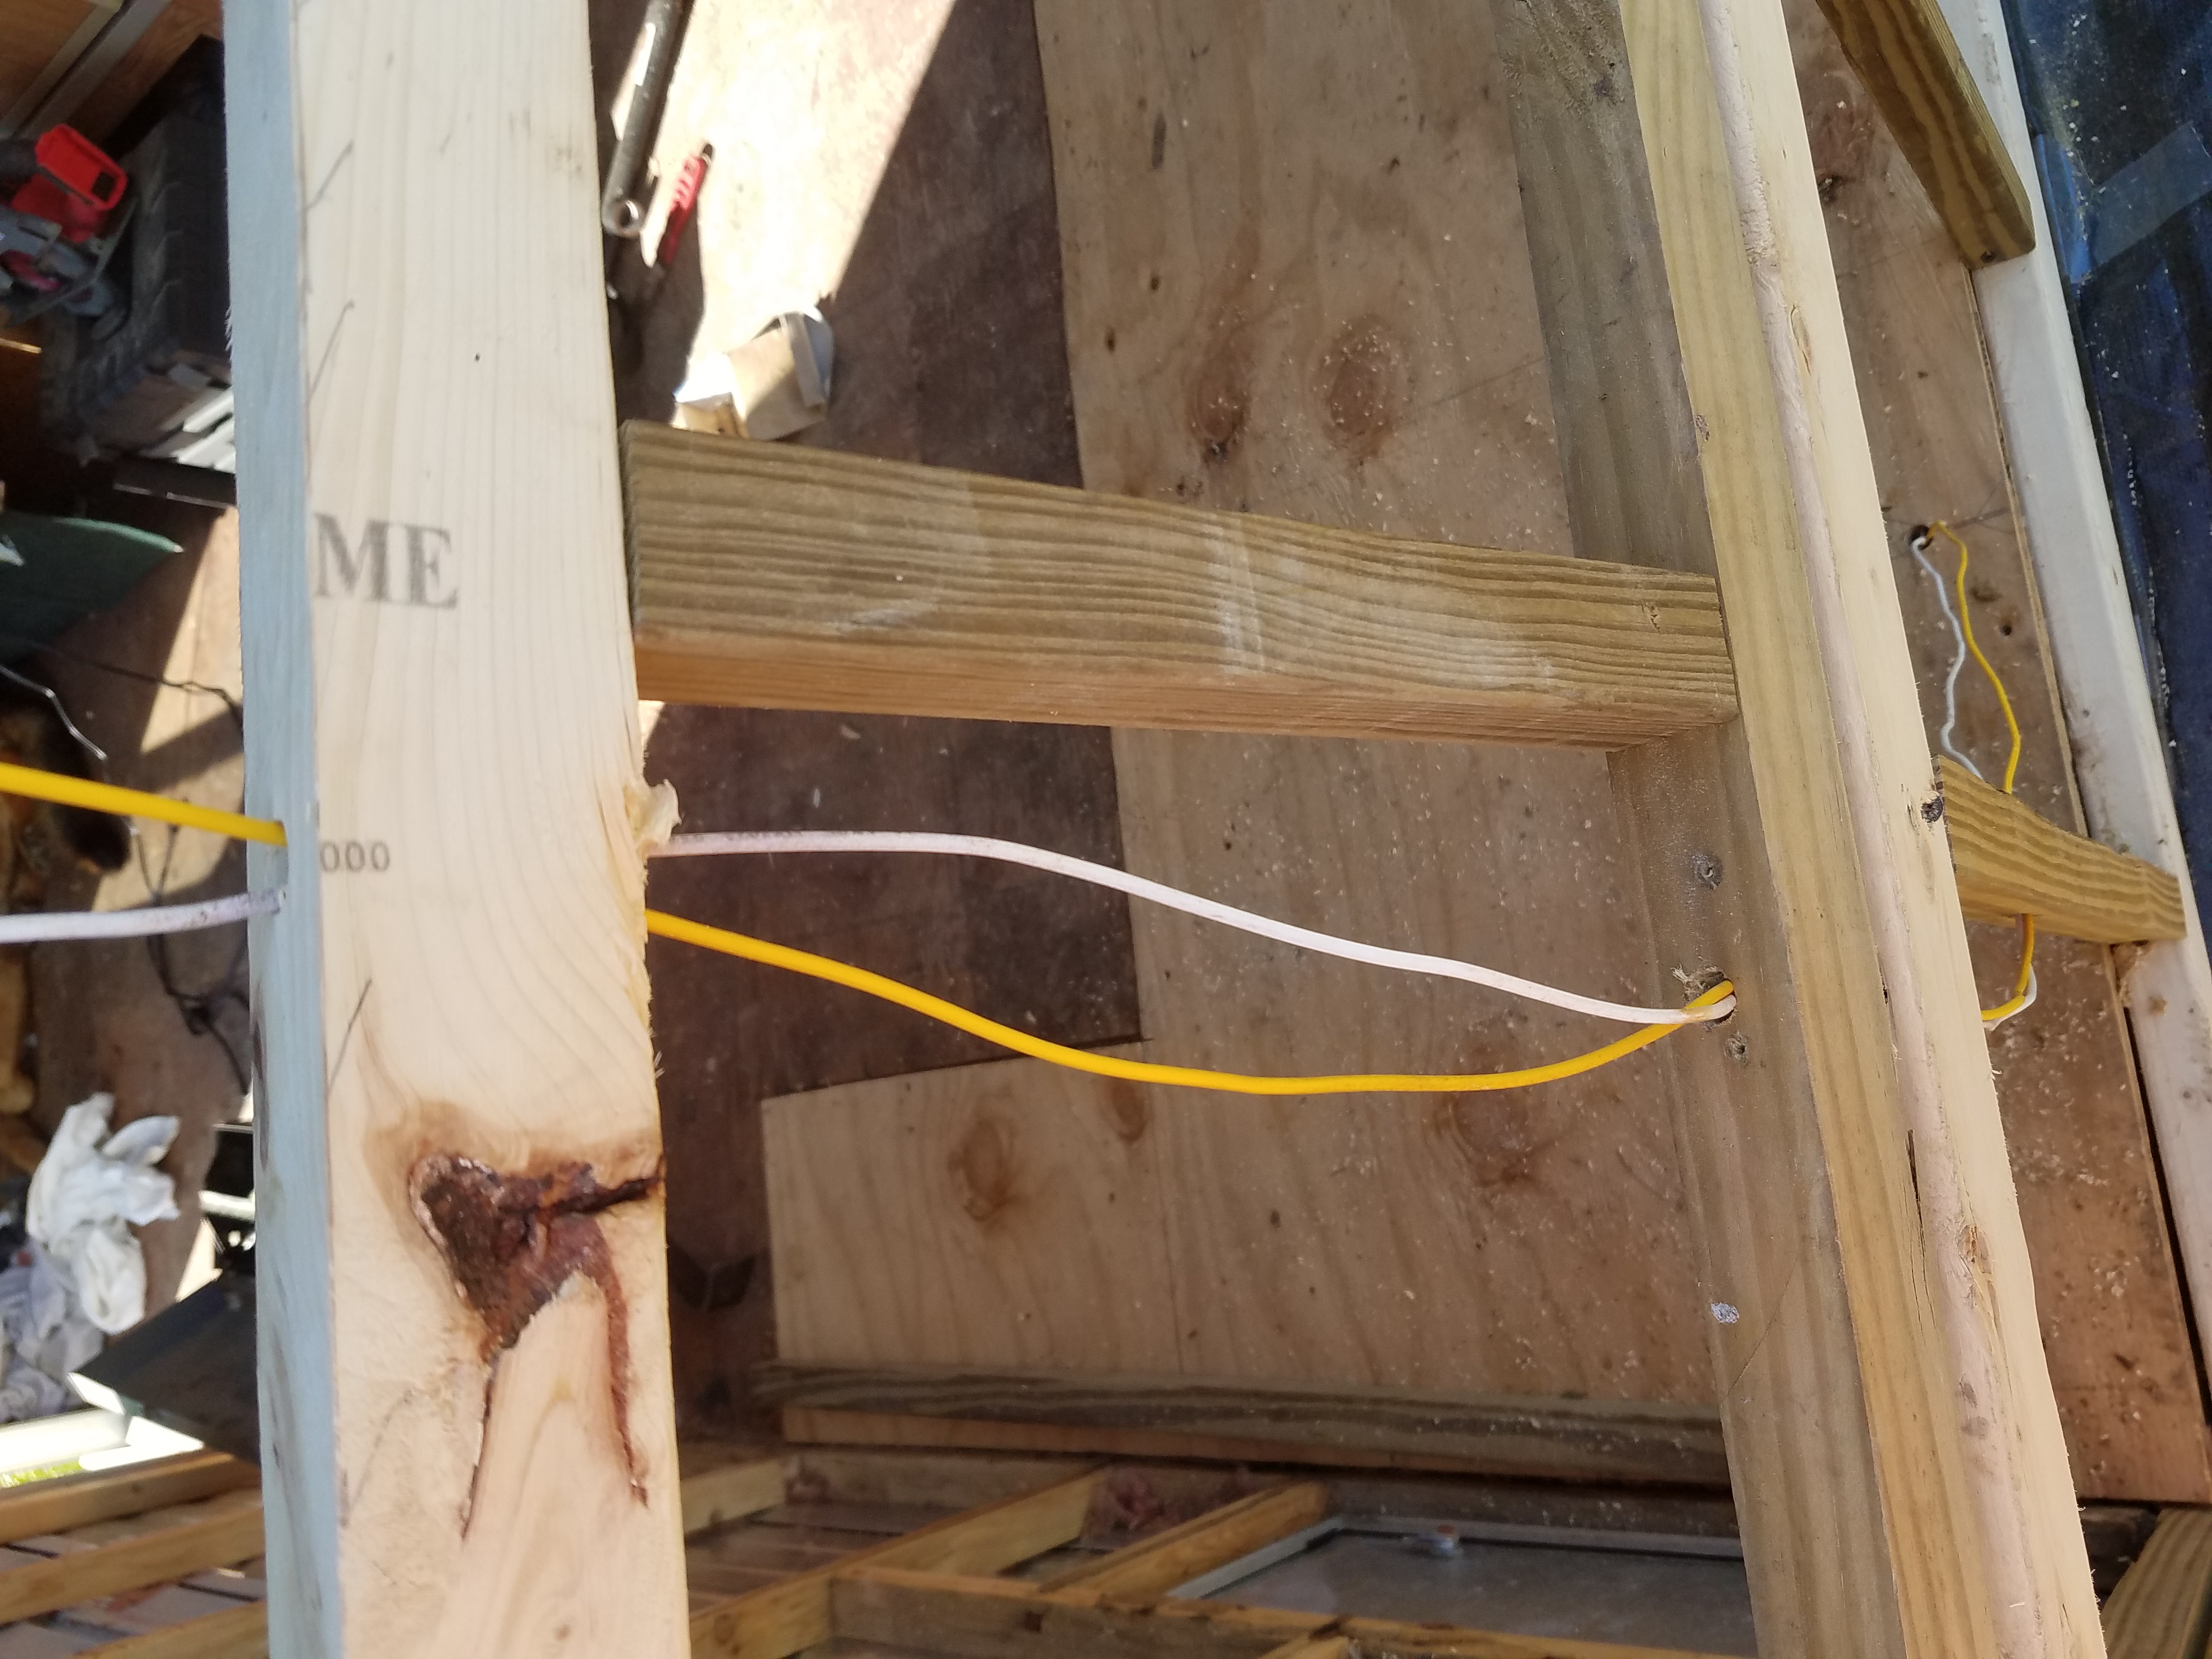
There were a few things I wanted to do before putting the siding back on because of the easy access. I needed to drill new holes for all of my wires to run through the frame. This was a little tricky, since maneuvering the drill into some of the spaces was tight, but overall it wasn’t complicated. I referred to the pictures I had of the old frame before I demolished it to see where the wires used to run.
I didn’t modify the run of the wires at all since they were generally taking the shortest distance between the two points already. The wires were for the running lights at the front and forward sides of the trailer as well as for the radio (which we removed but might install a new one). There were also a few of the larger wire bundles for the receptacles (power outlets, for the uninitiated) but those didn’t have far to travel.
Patching Aluminum
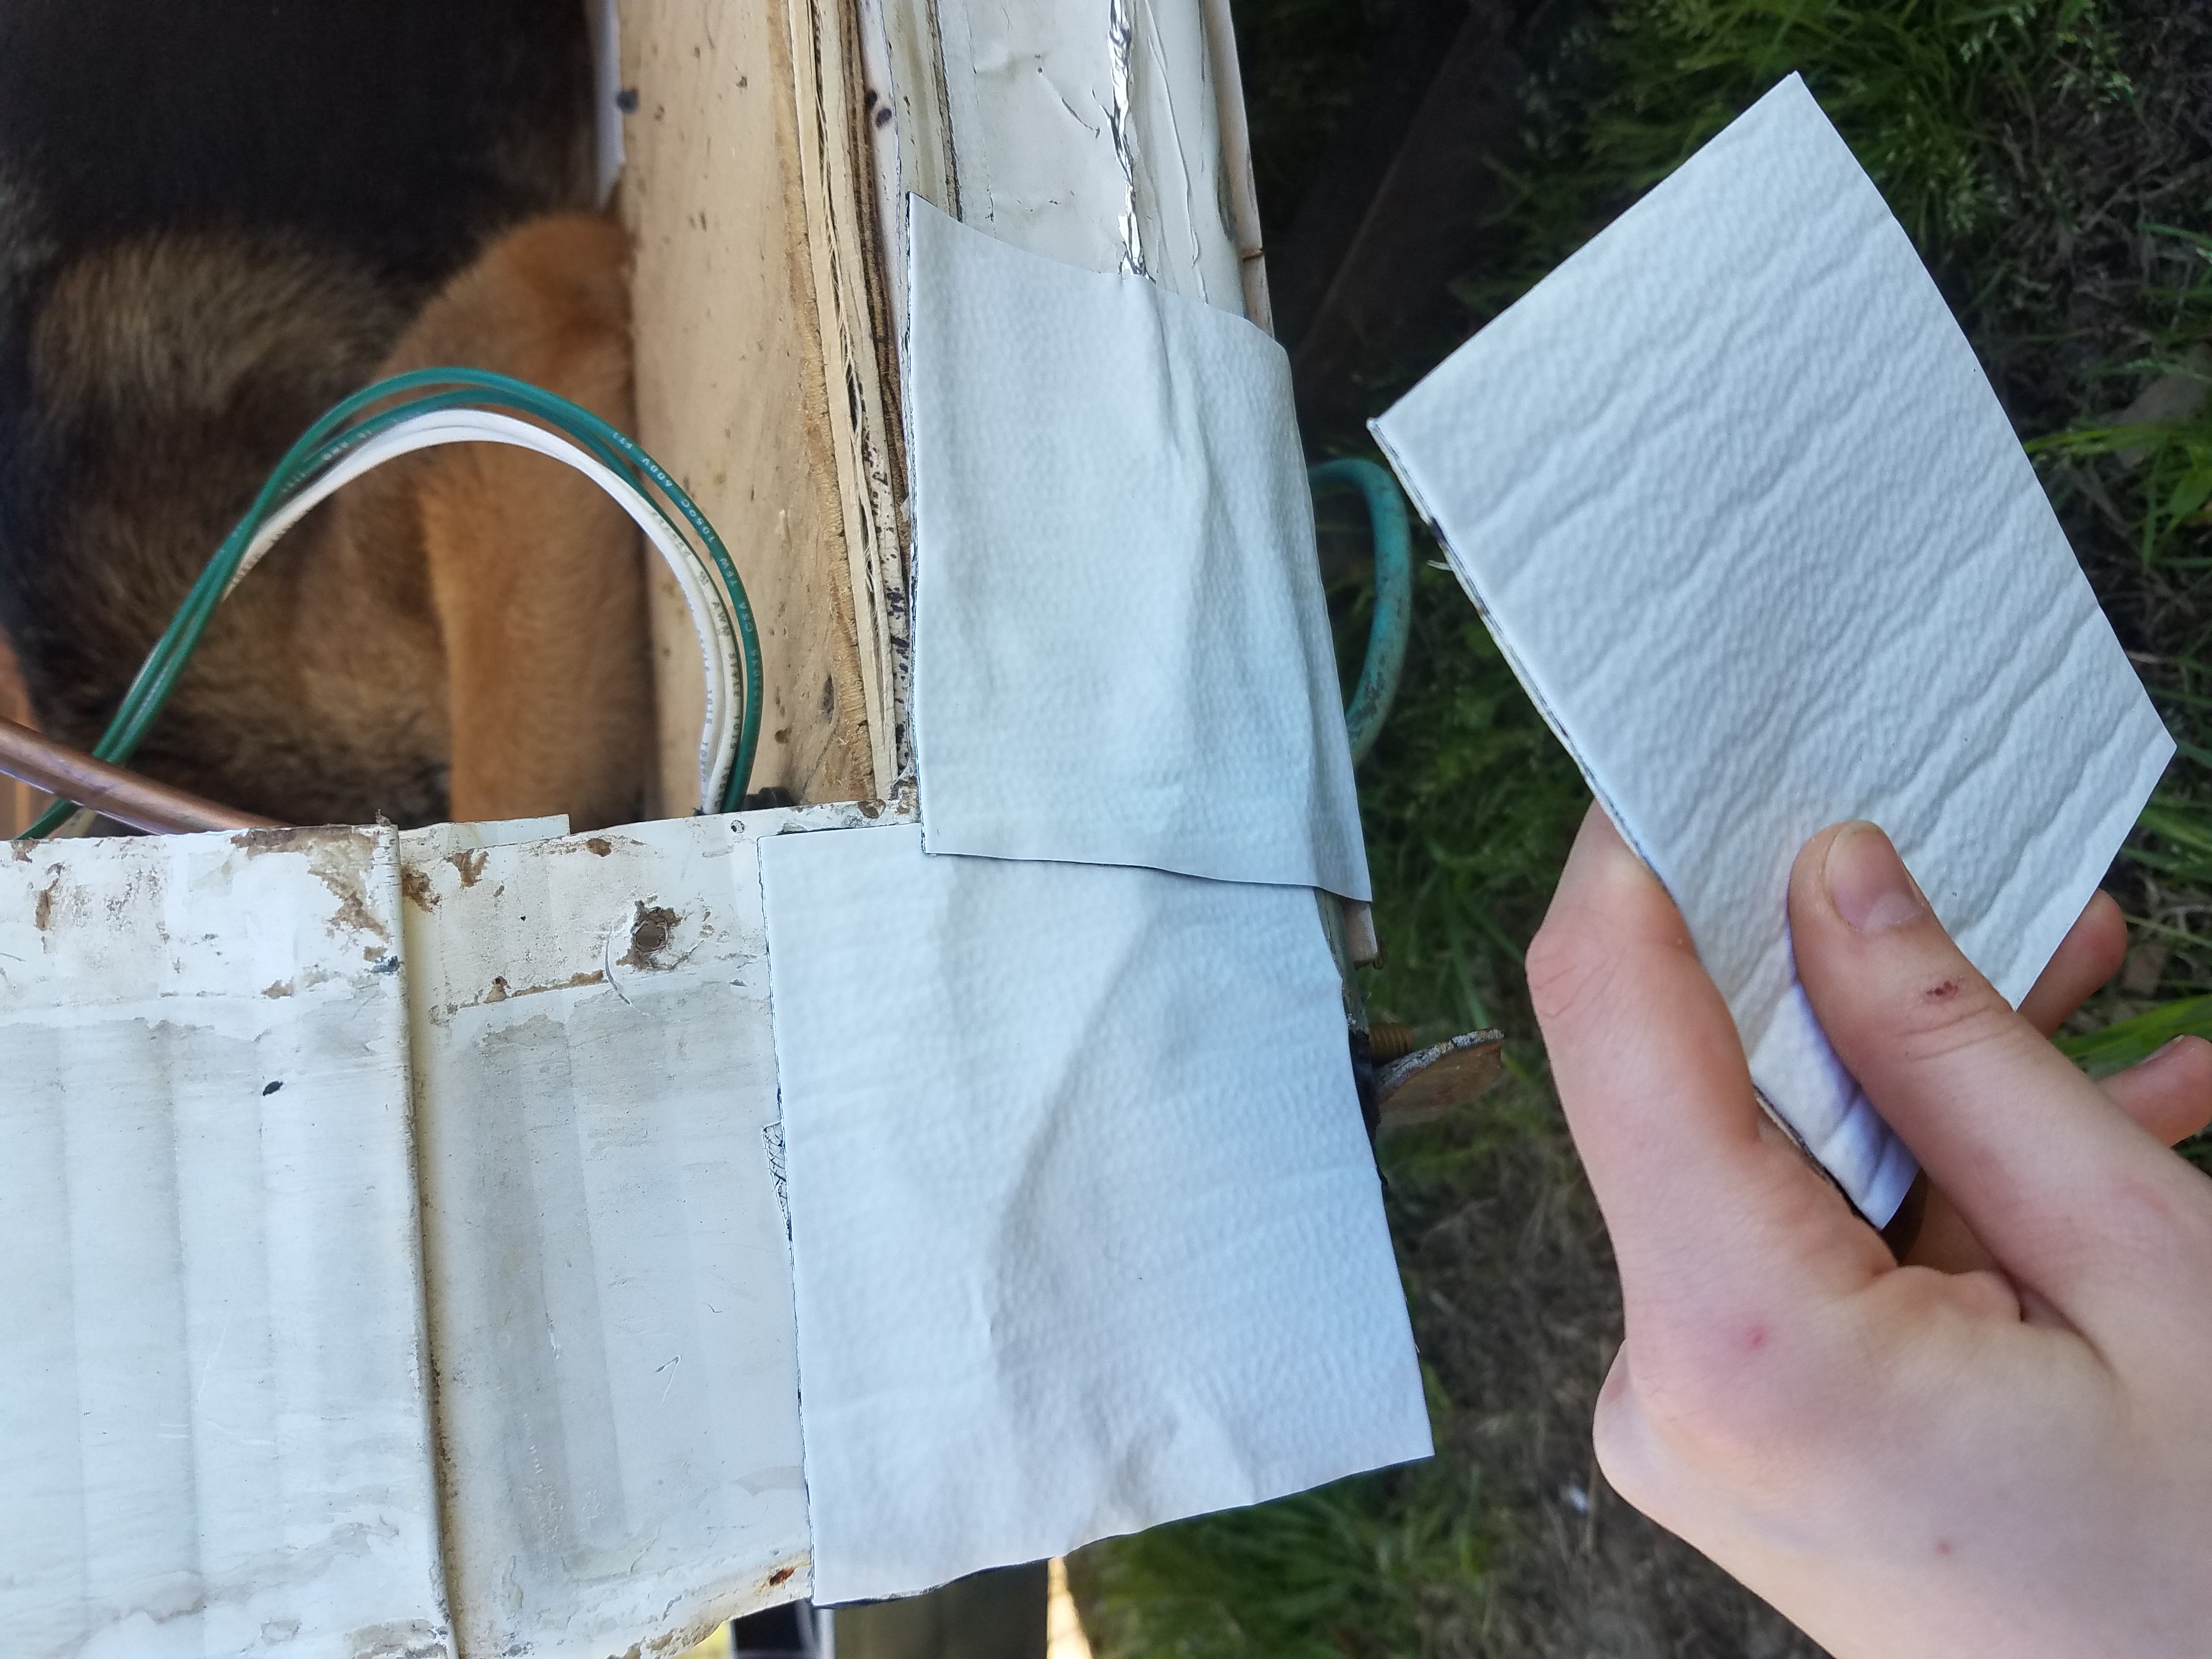
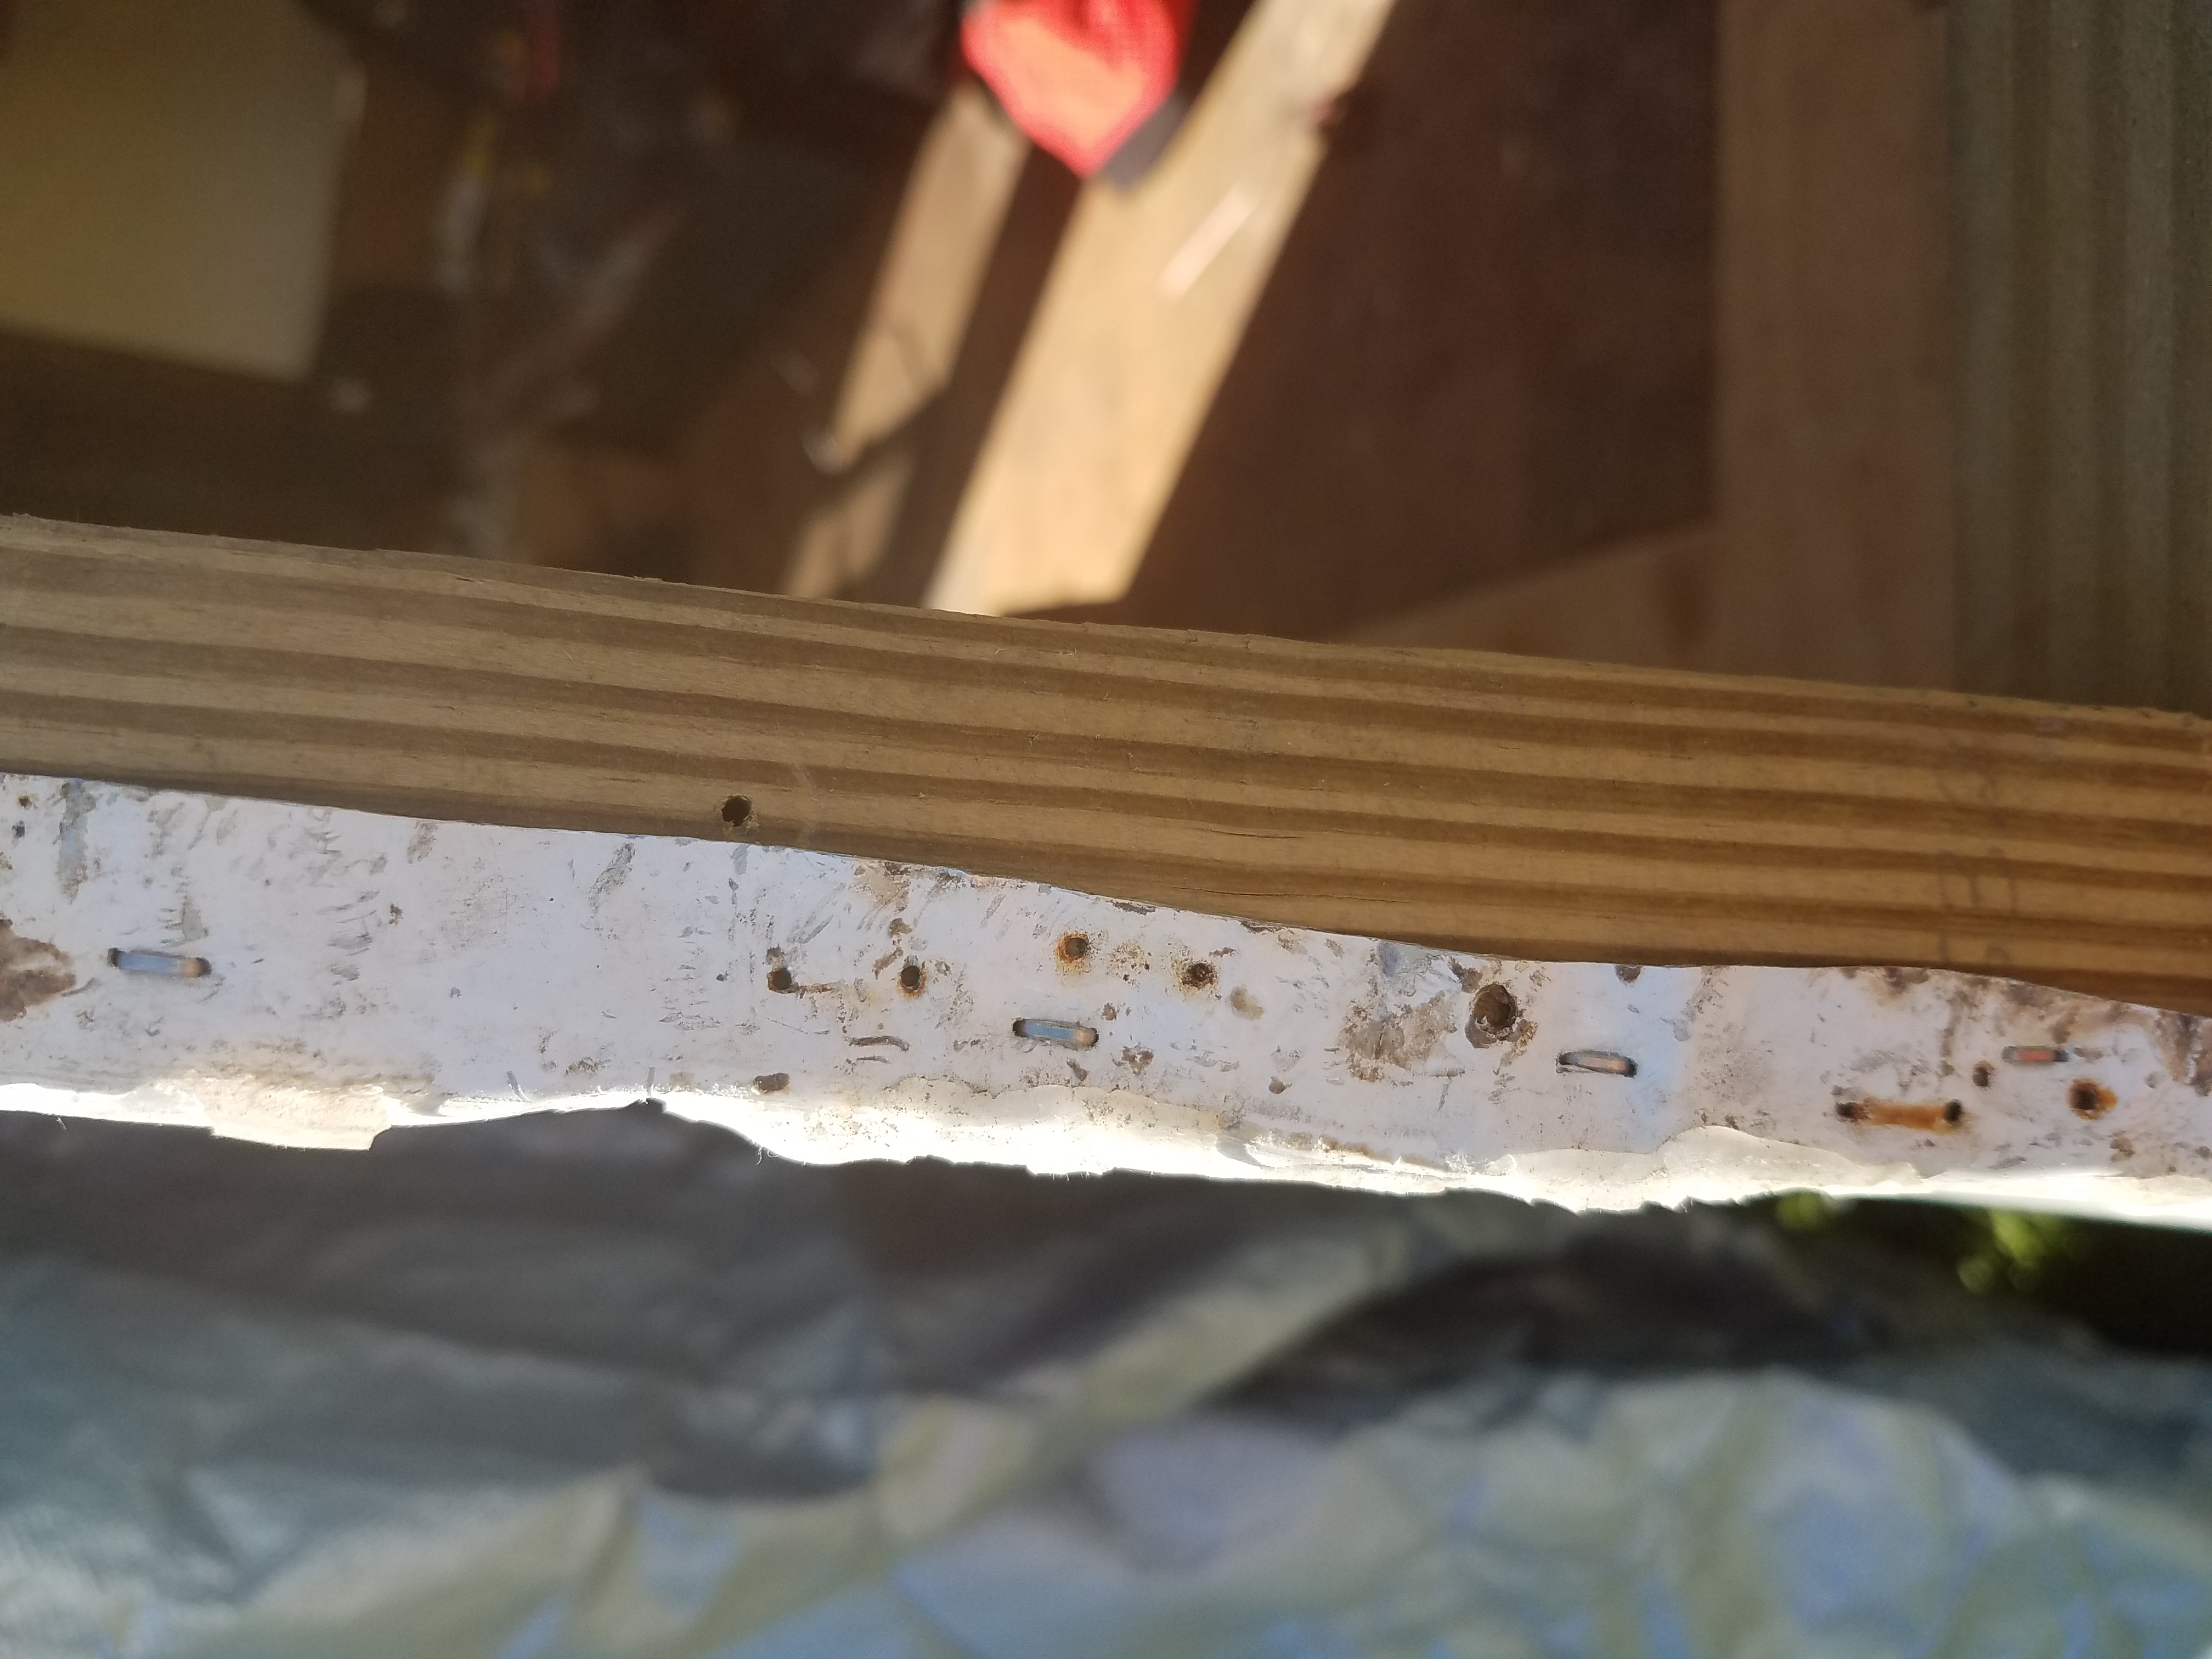
After that, I took the opportunity to patch up the corner of the Wind Rose that had been damaged in her previous life. It looked like someone had backed into the corner or maybe sideswiped it. The aluminum was torn and patched already, with thin strips of aluminum. I purchased an aluminum patch that had strong tar-like adhesive on the back and stuck the squares on firmly. They’re pretty thick and I made sure they were completely covering the wooden frame and blocking water infiltration. These patches came in very handy.
Next, I went along the edges and bent the aluminum siding around the frame, using a hammer to make it as tight and square as I could. No easy job when it’s corrugated like these trailers often are. The aluminum siding on the side and what I would be installing back on the front don’t necessarily overlap on the frame, but the closer you can get, the less chance of water infiltration.
Replacing the Siding
Once the siding was bent over the frame I hauled out the air compressor and the nail gun. It was time to start nailing!
I consulted the blogs and demos on whether or not there should be caulk or putty tape between the aluminum siding and wooden frame before it was nailed down. From what I could see, there usually isn’t. I decided that since the corner sealant tape would go on top, then the aluminum corner molding, then caulk to seal the edges, it probably wasn’t necessary.
The nails I was using were not ideal for fastening aluminum. They were too narrow, not giving enough purchase between the two holes. The aluminum was prone to just ripping up and leaving the nail behind. I advise getting a bigger nail gun with wider nails. However, I made it work. I nailed the siding down along both sides and then went into my storage building to fetch the aluminum siding for the front.
The first piece I put on was the bottom piece, which bent around the bottom front of the trailer and needed to be stapled up underneath as well. Before putting on the bottom siding, I nailed the tarp-like moisture barrier that covers the underneath of the trailer to the frame, wrapping that up tightly. With the moisture barrier wrapped up, and the siding bent and folded down under, the front of the trailer should be impervious to water from below.
Unfortunately, after I put on the bottom piece of the siding, I realized that the siding needed to be applied from the top down. TOP DOWN. Ug. Rather than rip holes in my newly fastened bottom piece of siding, I decided to just make do. I put up the ladder and started at the top.

Top Down
The top piece was the most difficult piece to do. First, I used my aluminum patches to patch over the old screw holes along the edge. I figured I would start fresh with no holes. There were a few other ripped or torn areas that I patched. The siding is less like a tin can and more like an aluminum can. It’s delicate and bends and rips easily. Go slowly and carefully or you’ll end up having to buy a new piece.
Next, I scraped and wiped down the area of the roof where the siding overlaps. Then I laid down three lines of 3/4″ butyl tape, making a thick layer of tape from the edge of the siding to where I was putting in the screws. Laying down butyl tape is really annoying. It stretches and sticks to your fingers and somehow doesn’t stick to the surface you’re trying to stick it to.
Once that was done I had to try and press the siding down to the butyl tape in the correct position, centered on the roof. I recommend getting some help with this part, as most of the siding was hanging down the front and it kept trying to fall to the ground. Once I had it stuck to the butyl tape in the right place, I screwed in my new, exterior use, rust-resistant screws. The screws bit into the wooden roof framing underneath the aluminum and I tried to get them tight. Ideally, it will be tight enough to create a waterproof seal with the butyl tape, but not tight enough to rip through the aluminum.

Once the top was screwed down, I nailed in the sides. These aluminum siding pieces are designed to fit into and overlap each other to create a waterproof seal. They each have a long flat piece on the bottom that can be nailed to the frame along the length. Then, the next lower piece slides up and under the overlapping fold, fitting in tightly.
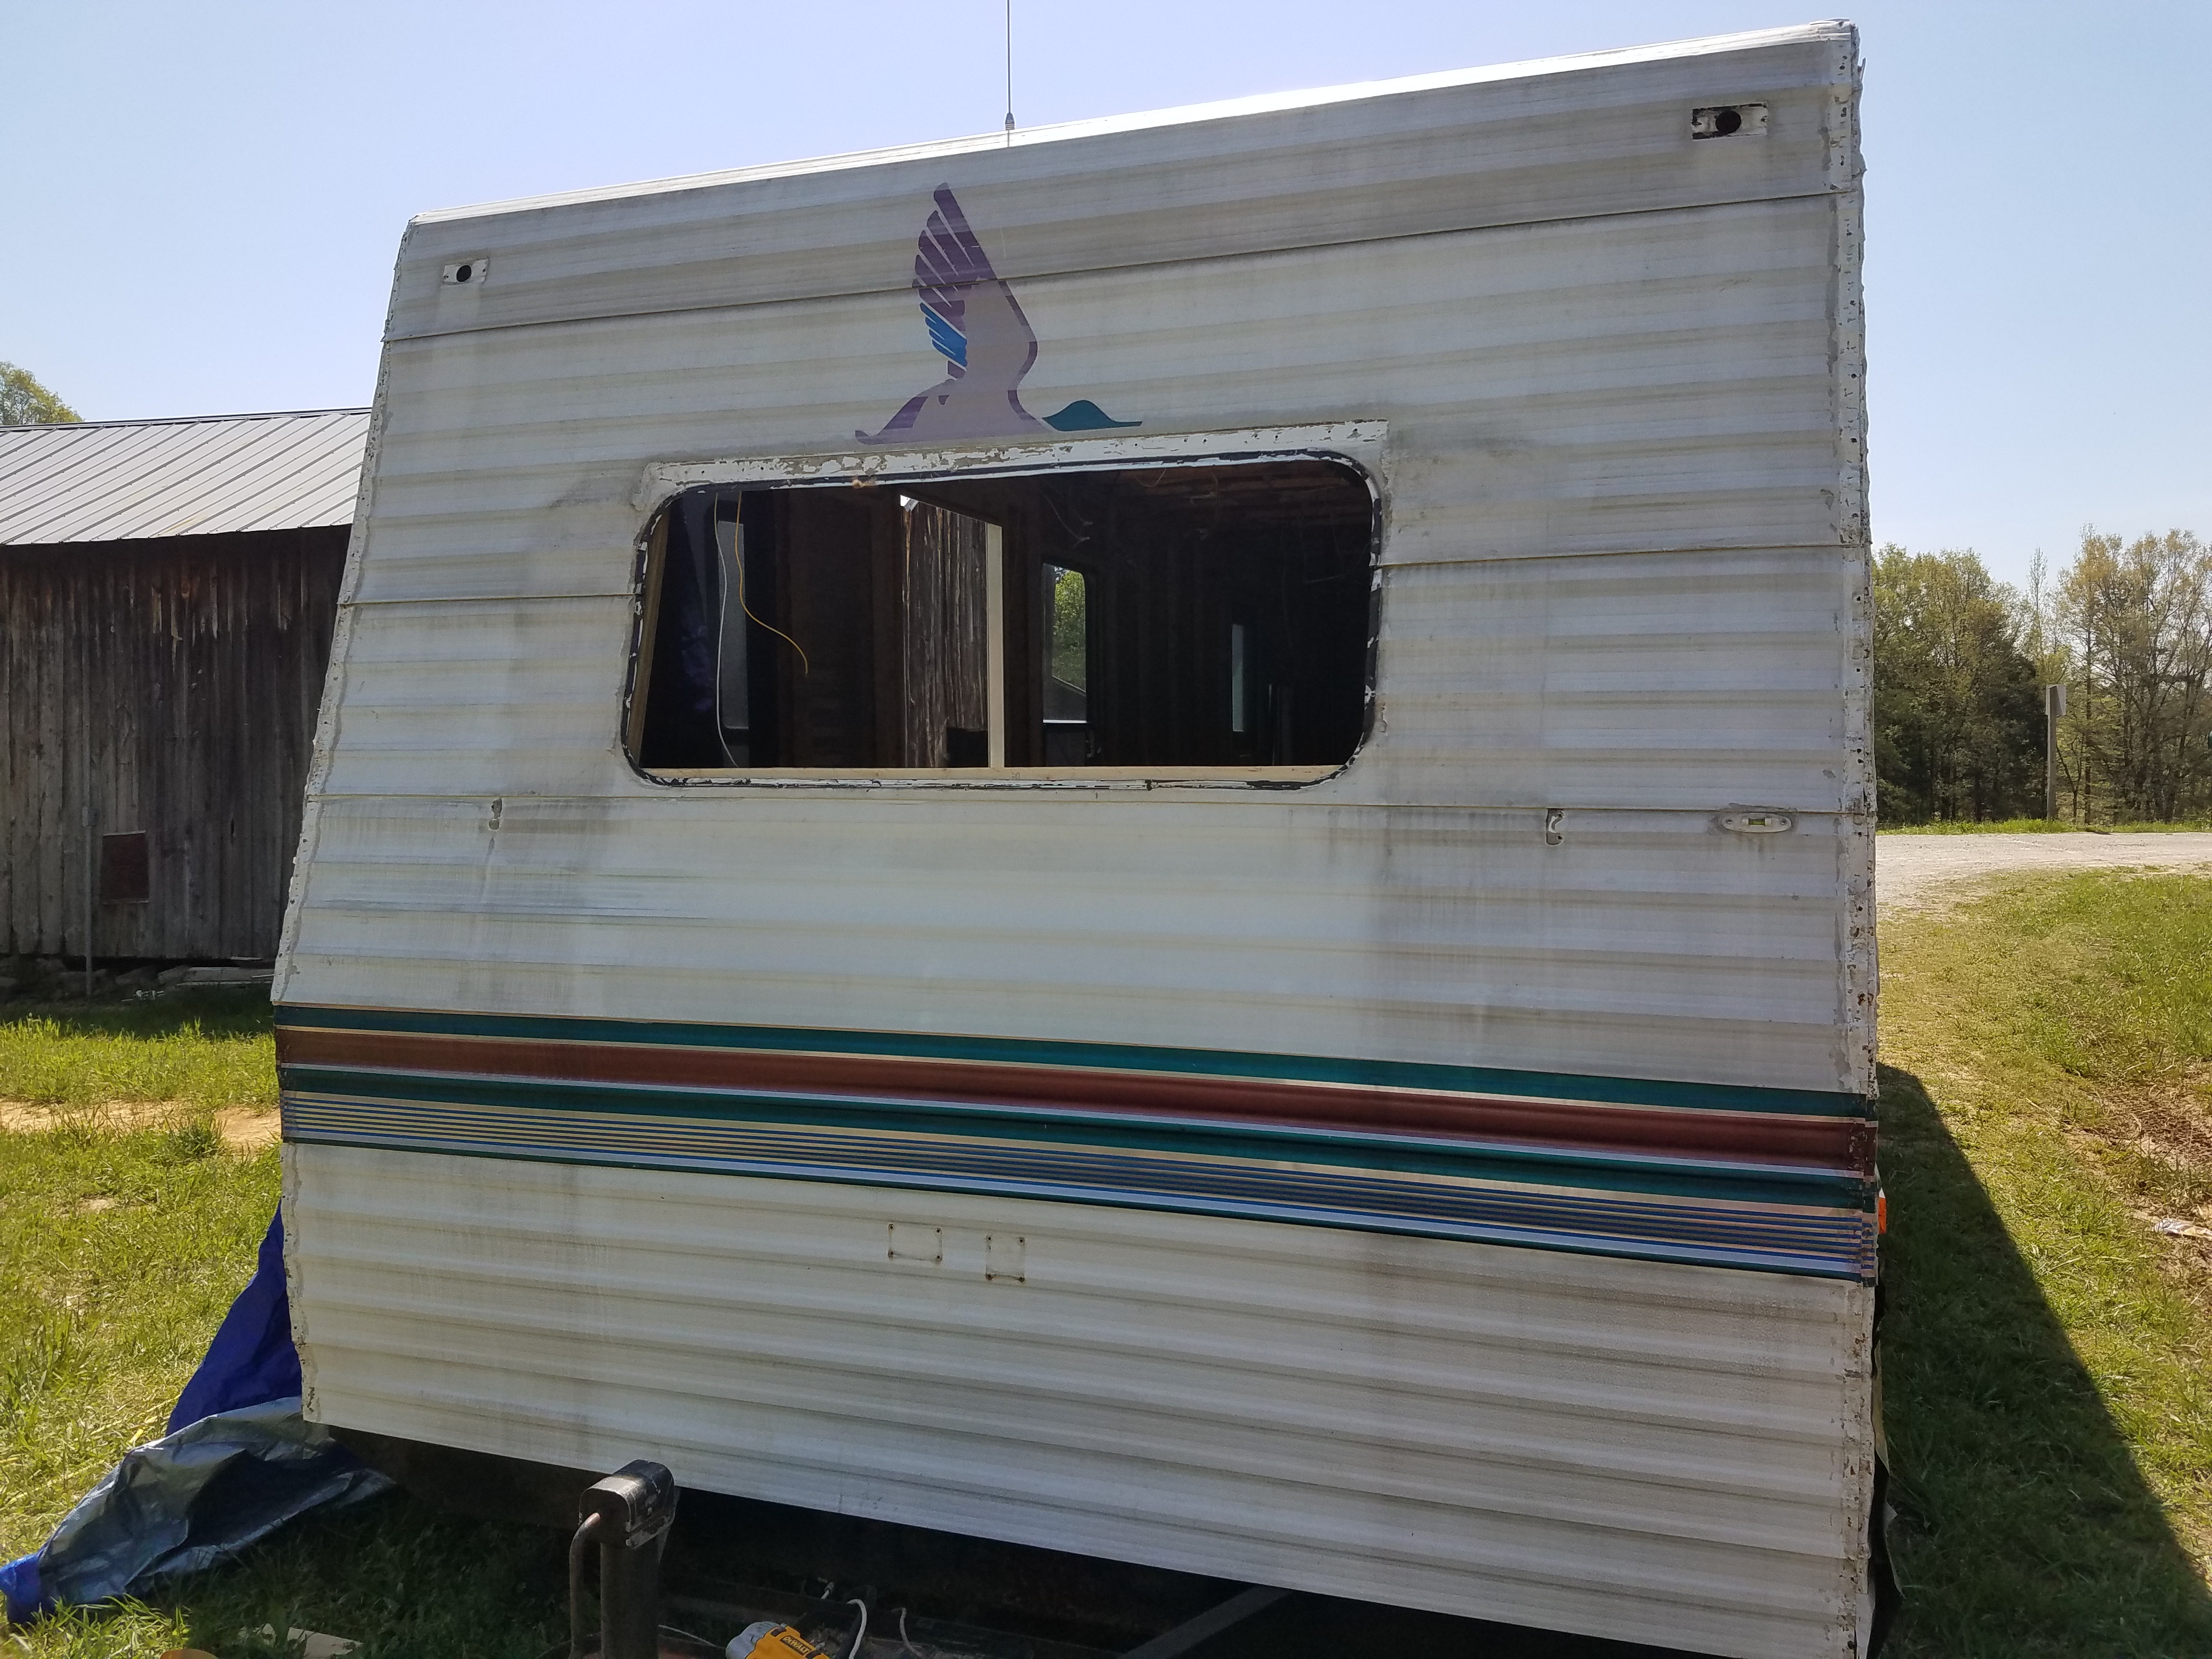
I squared the piece, making sure it was in the middle and not lopsided, and then nailed in the edges and along the frame in the front. I repeated that process for each piece, carefully getting them in order according to a few noticeable features, such as the window cut-out and the colorful stripe. The hardest part was making them fit tight and square. I managed the bend the final piece in enough to fit it under the bottom piece that I’d mistakenly nailed in first.
When I stepped back to view my work, I noticed a few things. One, the window cutout didn’t line up with the window framing. Apparently one of those small changes I made to the frame put the window about an inch higher than it originally was. I hauled the window out of storage and tried to fit it in the hole. Unfortunately, I’m going to have to shave off a 1″ strip of aluminum siding from the top of the window hole. I’m also going to carefully seal the bottom of the window since the aluminum at the bottom isn’t quite flush. I’m going to make it work.
Note: On reflection, I should have shaved a 1″ strip off the wooden frame to make the window fit, instead of altering the window itself. Then the window would have fit squarely into the siding. As it is, there is a gap on the bottom that is visible and noticeable.

Secondly, the edges of the siding were not as neat and flat as I had thought they would be. The job of taping and screwing in the corner molding suddenly looked a little less simple and straightforward. All those waves in the aluminum were water infiltration risks. I’d have to be very generous with my caulk.
I was definitely happy to have the siding back on, but also very aware that it wasn’t waterproof yet. I needed to do the corner sealant and caulk the roof/siding seam before I could rest easy and put the tarp away for good. Up next, tape, caulk, and frustration!