Renovating our 1997 Fleetwood Mallard for Full-Time Living (Part 7)
This is the story of how my husband and I purchased a 20-year-old travel trailer and I DIYed the crap out of it to make it suitable for full-time living. In this series, I’m giving All of the details about the process step-by-step, as performed by me, a 26-year-old woman with No experience in construction. The first installment in this series is in the link below and describes how I purchased the travel trailer and my plans for renovation. Then, follow along in the series by clicking on the link for the next article at the bottom of each page.
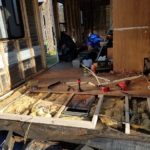
Framing the Front
With the floor successfully replaced we were ready to start framing the front of the Wind Rose. The first thing to do was to replace the rotted wood we removed from the side framing. This was tricky since we only removed parts of the side and had to cut new pieces to fit in the spaces. Measuring and then fitting each piece took a frustratingly long time, especially since I had forgotten to measure the angles of the original frame and had to guess and check.
Guess, cut, check. Cut again, check again. Cut some more. Oh shoot, I cut too much. Start over with a new piece. Ug! The pieces we were attaching to the end of shortened pieces also had to be supported, and our new wood wasn’t the same dimensions as the old wood. It was a headache trying to get all of the little pieces to fit.
This was also my first time building something this way and I had to learn the best way to brace the pieces before screwing, to pre-drill each hole, what angle to best attach the pieces without splintering the wood, and a lot more. I made a lot of irritating mistakes. I broke 3 drill bits trying to drill at an angle (the trick is to go slowly, I’m too impatient).
I stripped a few screws and splintered a few pieces of wood. I made quite a few cuts that were not straight or square until I figured out how to balance the circular saw and watch the cutting line at the same time. I struggled with the power tools a lot until I got the hang of them through trial and error. It was definitely what they call a “learning process”.
Start Small
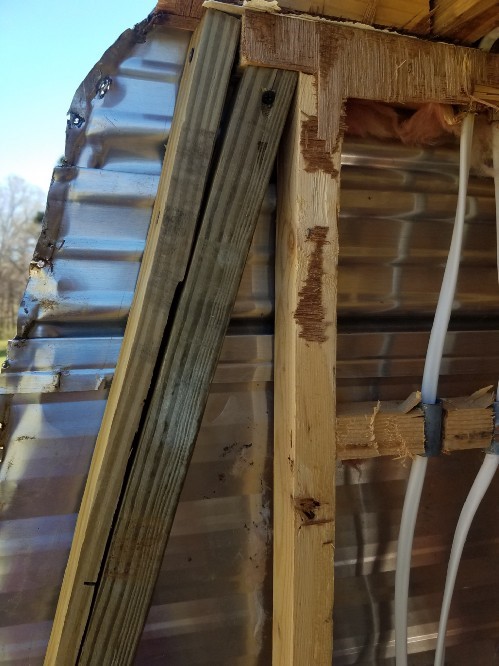
Before I tackled the large and intimidating process of re-creating the front frame I decided to start with a few smaller fixes. There were some parts of the side frame that had been rotted and removed during the bigger demolition project. There are two outdoor access ports, one on either side, near the front of the trailer. The left side of the trailer (port side) has a square hole for the water heater exhaust. The right side (starboard) has an outdoor access compartment that used to go under the seat of the dinette. The frame of both access ports was water damaged and rotten in places and needed to be replaced.
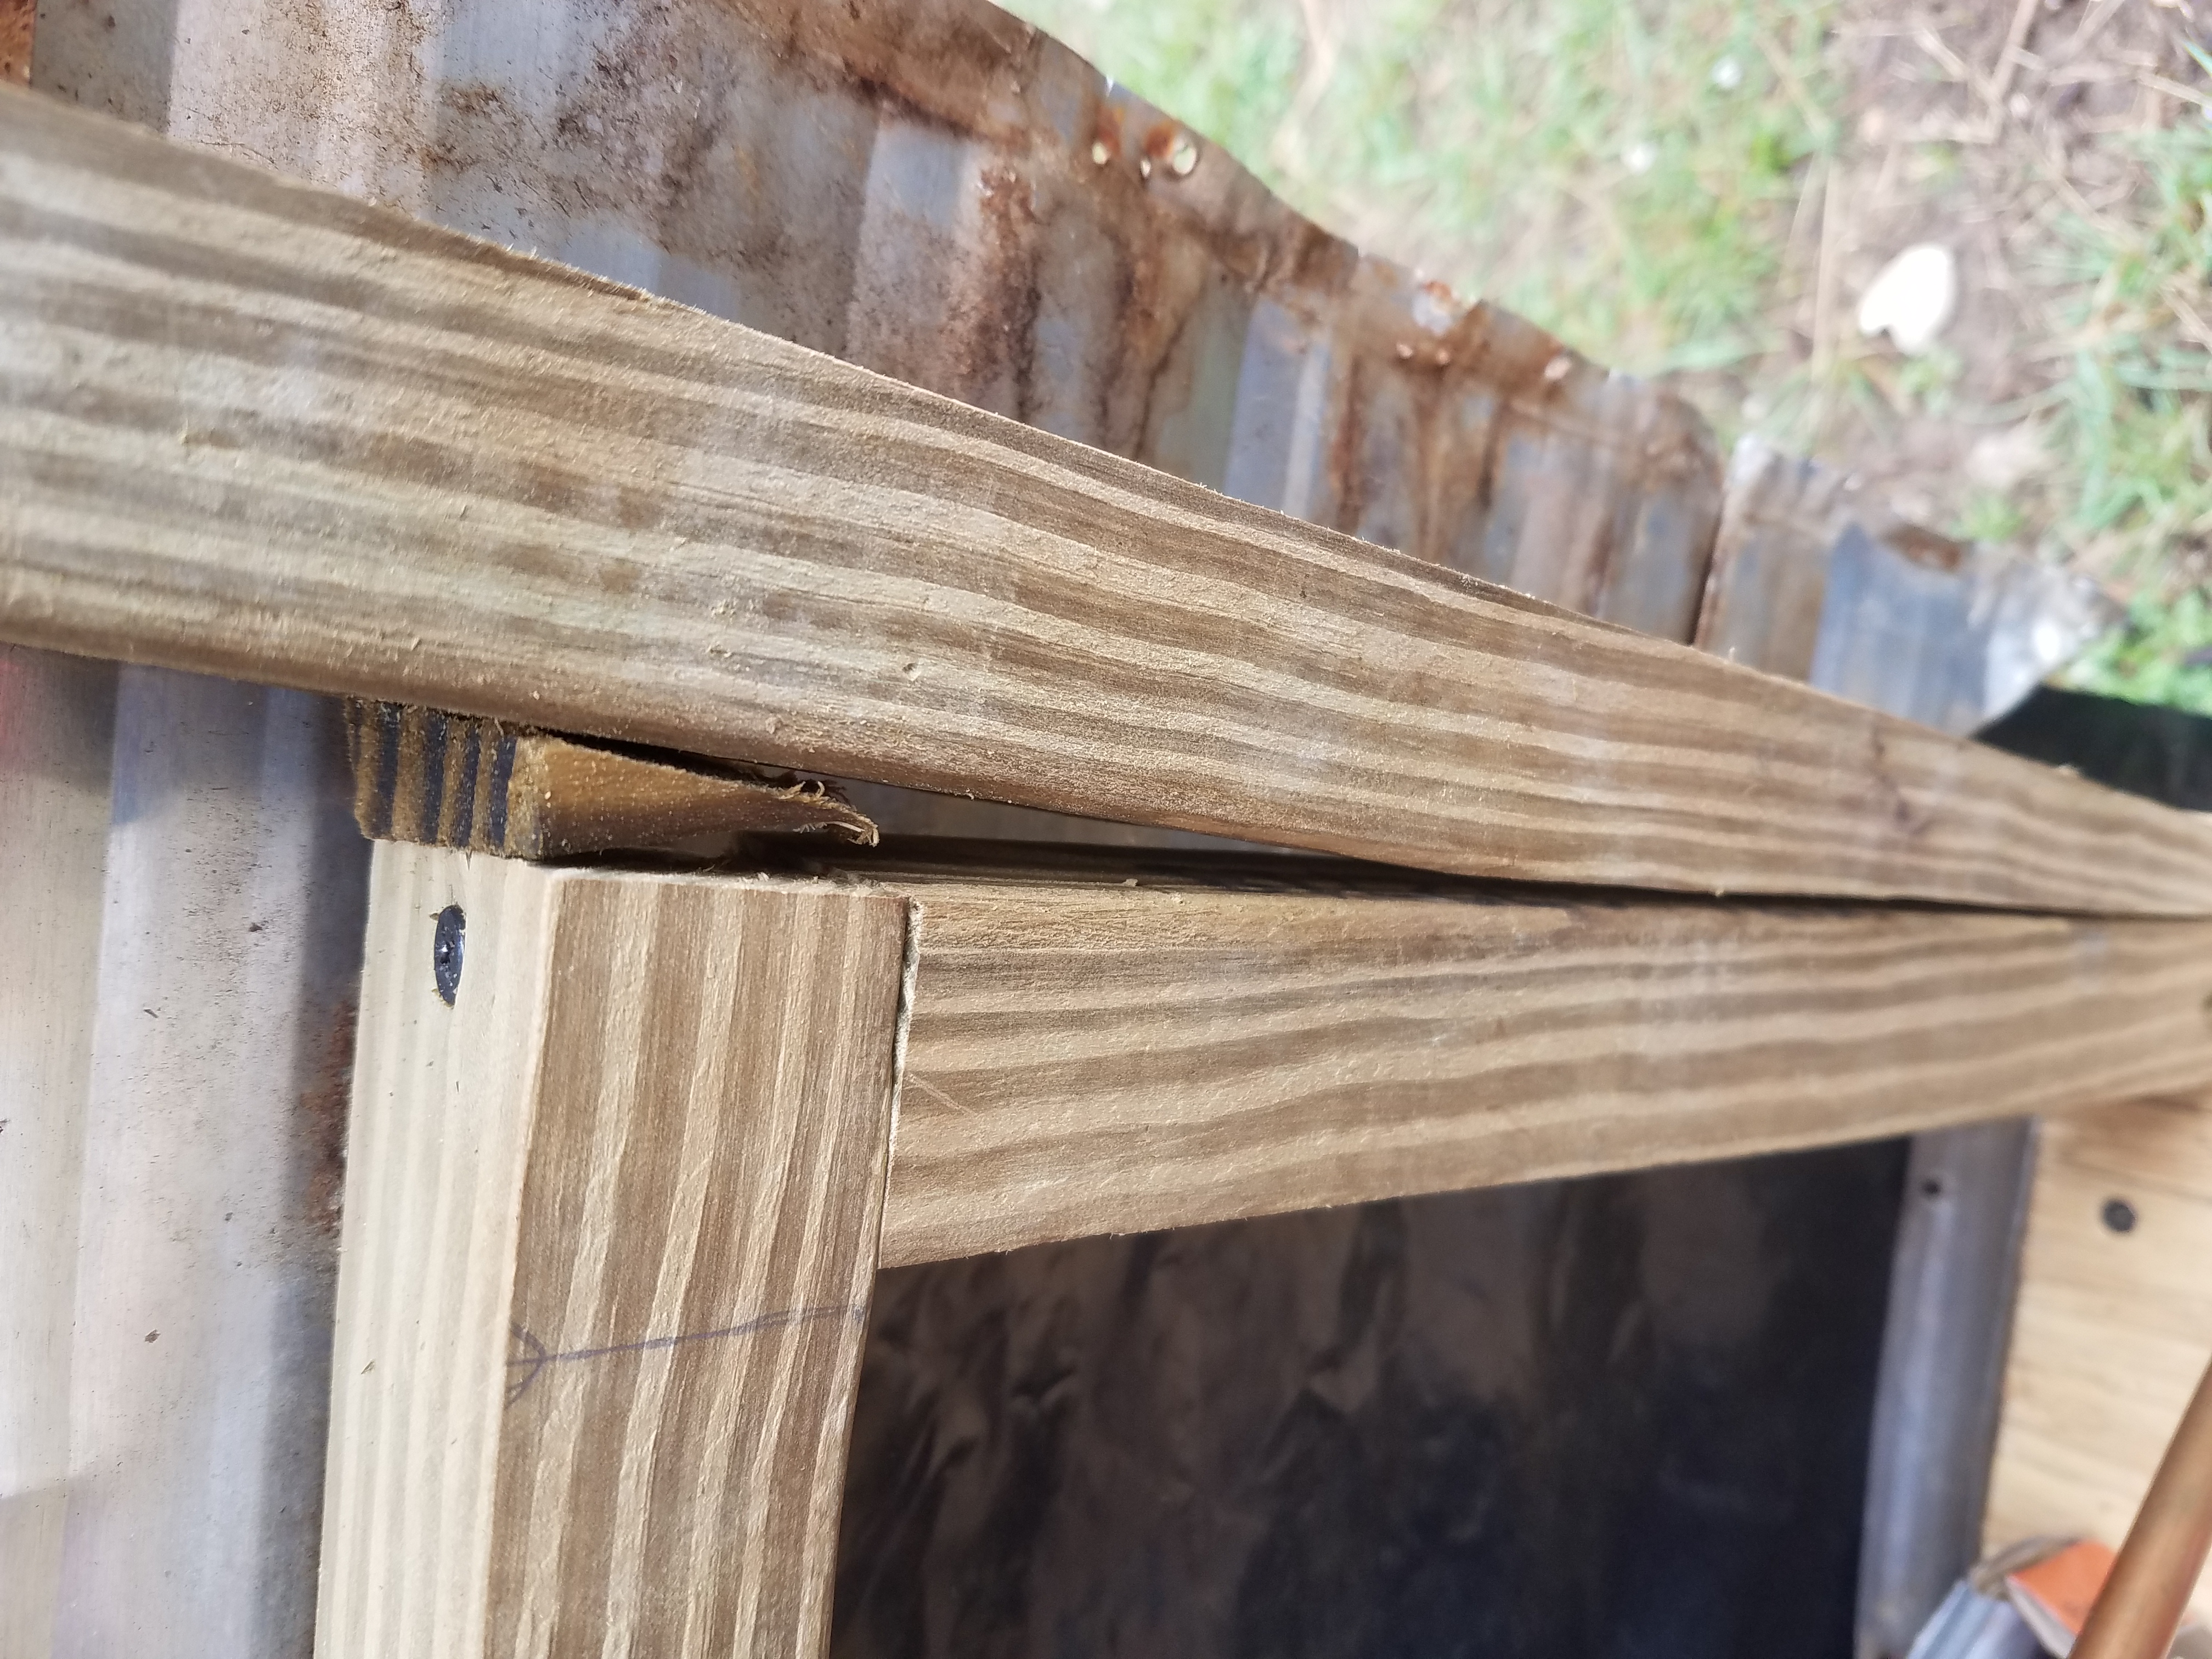
While re-framing the side ports I chose to attach the new boards to the old boards with a straight edge and use another piece on top that overlaps both boards and screws into each, holding them together. It wasn’t very elegant and it added some unnecessary weight to the framing. In the future, I’ll probably look for those metal screw plates (sometimes called Meding Plates) to make the attachments instead. I used what I had on hand, rather than making a trip to the store exclusively for those pieces. I’ll probably get some of those when I do interior wall framing.
I made a few mistakes with the side framing that I just shrugged at and moved on from. As long as it didn’t compromise the structural integrity of the frame, I had to let it go. It wouldn’t look as neat and pretty as it should, but it would do the job. I was too frustrated to take everything apart Again and start over.
You win some, you lose some. However, I’m glad I started with the two smaller projects of fixing both sides of the framing. It was a valuable chance to learn some skills before diving into the more critical job of building the front frame.
Frame Job
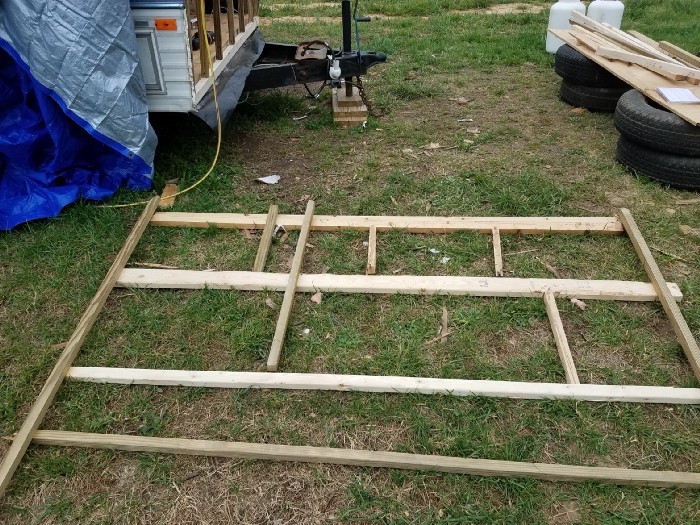
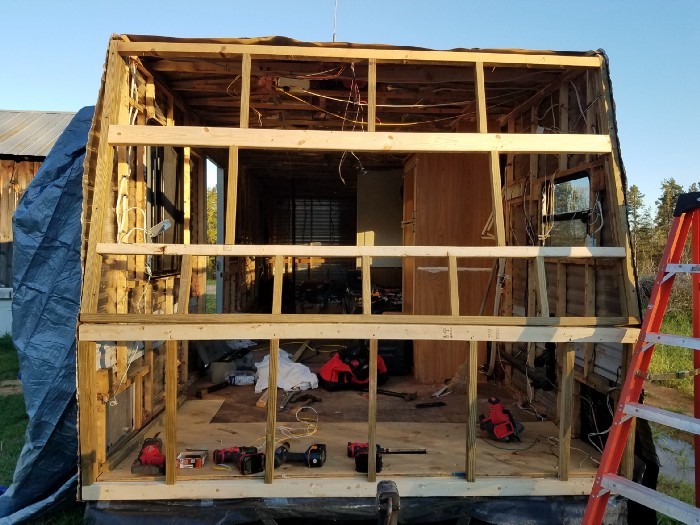
The front frame was built in two pieces, an upper and a lower piece. The upper piece had the window in it and leaned backward slightly. The lower piece was smaller and leaned forward slightly. I started with the lower piece because it was simpler, smaller, and also because the upper piece would rest on top of it.
I checked my diagram over and over, measured and measured again, and then started making cuts. I learned to write the length of the cut on the board and use an X to mark the throwaway side of the board. The width of the saw blade makes a difference, so you have to know which side of your line to cut on. I had to pay attention to which side of the board was going “up” because the 1x1s aren’t square. They’re slightly rectangular, and they need to be oriented so they’re all “facing” the same direction. In this case, the longer edge was going to be “depth” in the frame and the shorter edge would be “width”. You’ll see what I mean when you start building a frame.

Building the lower frame was fairly straightforward and afforded me more opportunities to practice measuring and cutting. I used a 2×4 at the top of the frame even though there wasn’t one in the original. I figured a little extra sturdiness at that point in the wall would be helpful when installing the cabinets on the inside. That meant I had to alter the measurements of the cross-pieces to account for the extra 1 inch of thickness. I wanted to change the crosspieces rather than having to rework the entire upper half of the frame.
To my surprise, the 2×4 wasn’t perfectly straight, the crosspieces weren’t all exactly the same size, and I didn’t manage to space the crosspieces evenly apart across the front. And yet, I do believe that it will hold the trailer together and hold the siding on just fine despite that. I used a few leftover bolts to attach the frame at the bottom and some screws up the sides. With everything firmly screwed in and staying in place after a few hard tugs and some determined shaking, I called it a success and moved on.
Upper Frame
The upper frame was more complicated than the lower section because of the window, which required three separate “sections” of framing. Again, I struggled with not-quite-straight boards and slightly different measurements for each crosspiece. I also found out that, due to some injudicious cutting earlier in the project, I didn’t have enough long pieces of lumber! I growled in frustration, kicked the tires a few times, contemplated the long trip to the store, and then walked down to the house construction on the other side of the farm to look for useable scraps.
Luckily, I was able to find a 2×4 that wasn’t too crooked for my purposes. I measured and marked it all the way down its length and then used my circular saw to “rip” (the term for when you cut a board lengthwise) it down to 1×2 size. Now I had two 1×2 boards instead of one 2×4, and I chose the least crooked one to use in my frame. It’s difficult to cut something so long in a straight line, and I should have taken it down to the shop and used a table saw instead. If I have to do any more of those, I’ll definitely be using the bigger tools. The circular saw ran out of battery halfway through the rip and there were a few places where I wandered off course slightly and had to correct. It was an ugly board, but it would do.
The upper frame went much more quickly now that I had some experience. I did have a little trouble changing the dimensions after using my cut-in-half 2×4 which ended up being wider than the original board. I took the extra half-inch off of the bottom crosspieces so I wouldn’t mess up the location of the window. I can’t change the location of the window because the window hole is already cut in the aluminum siding and I don’t want to have to order new siding.
I also had to cut the top of the frame at a slight curve to match the curve on the siding, and I never marked that in my diagram. Details, details, details! I double-checked that the window would fit before screwing in the window frame. I double-checked Everything. It saves time having to do it over later.
Finally, I checked the fit of my finished frame. The end pieces were too long! They stuck up from the top of the trailer. I must have forgotten to take into account the extra few inches from using the ripped 2×4 and the additional 2×4 in the bottom frame. I had to cut the extra length off the top and then reshape it into a curve. That’s when I realized that I’d forgotten a long crosspiece that is meant to go at the very top and provide a place to staple the aluminum siding too. I couldn’t get the placement exactly as it was before since I hadn’t put the rest of the frame exactly as it was before. Nothing is ever exactly the same, in my experience. I did fit it in just a little higher on the frame than it had been, but it would do.
At that point, I was ready to put the frame in place permanently. I used long screws along the bottom and one leftover bolt in the middle. Because the top half of the frame leans back, the two boards in the middle weren’t flush with each other but were separated by a slight angle. I made sure to place my screws so that they would bite through the most wood and therefore give the best hold. I also screwed it in along the sides every 12 inches or so. I just guessed on the number of screws to use.
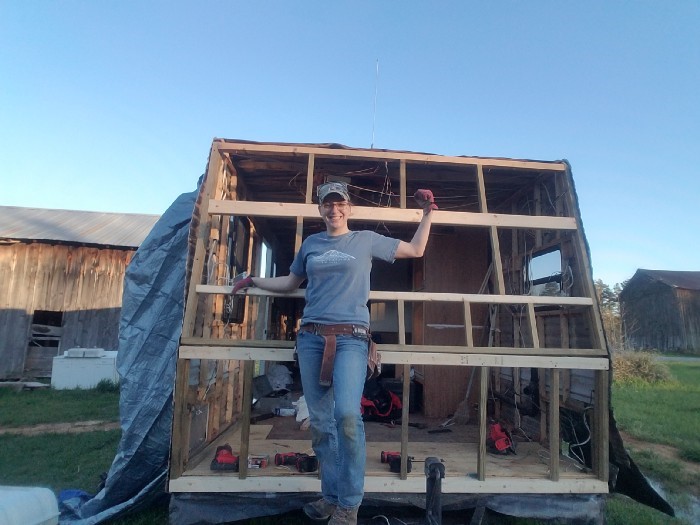
I tugged on it pretty hard a few times and shook the trailer back and forth a few times. It held in place and felt very sturdy. I call that a success! I finished just as the sun was going down and felt like I’d done a very good day’s work. With the new floor and new frame, the impossible project was starting to seem possible. Now, to put the siding back on before it rains again!
Watch me put the front back on my baby in the next blog!